![sign at the graphologists - a false magnification of some text: ‘The study of graphology is [..ent one] The art of reading up strokes together also the reading [of] down strokes [in combin]ation and interpreting wiggly lines’](images/split2b.jpg)
Series 6 — Episode 4
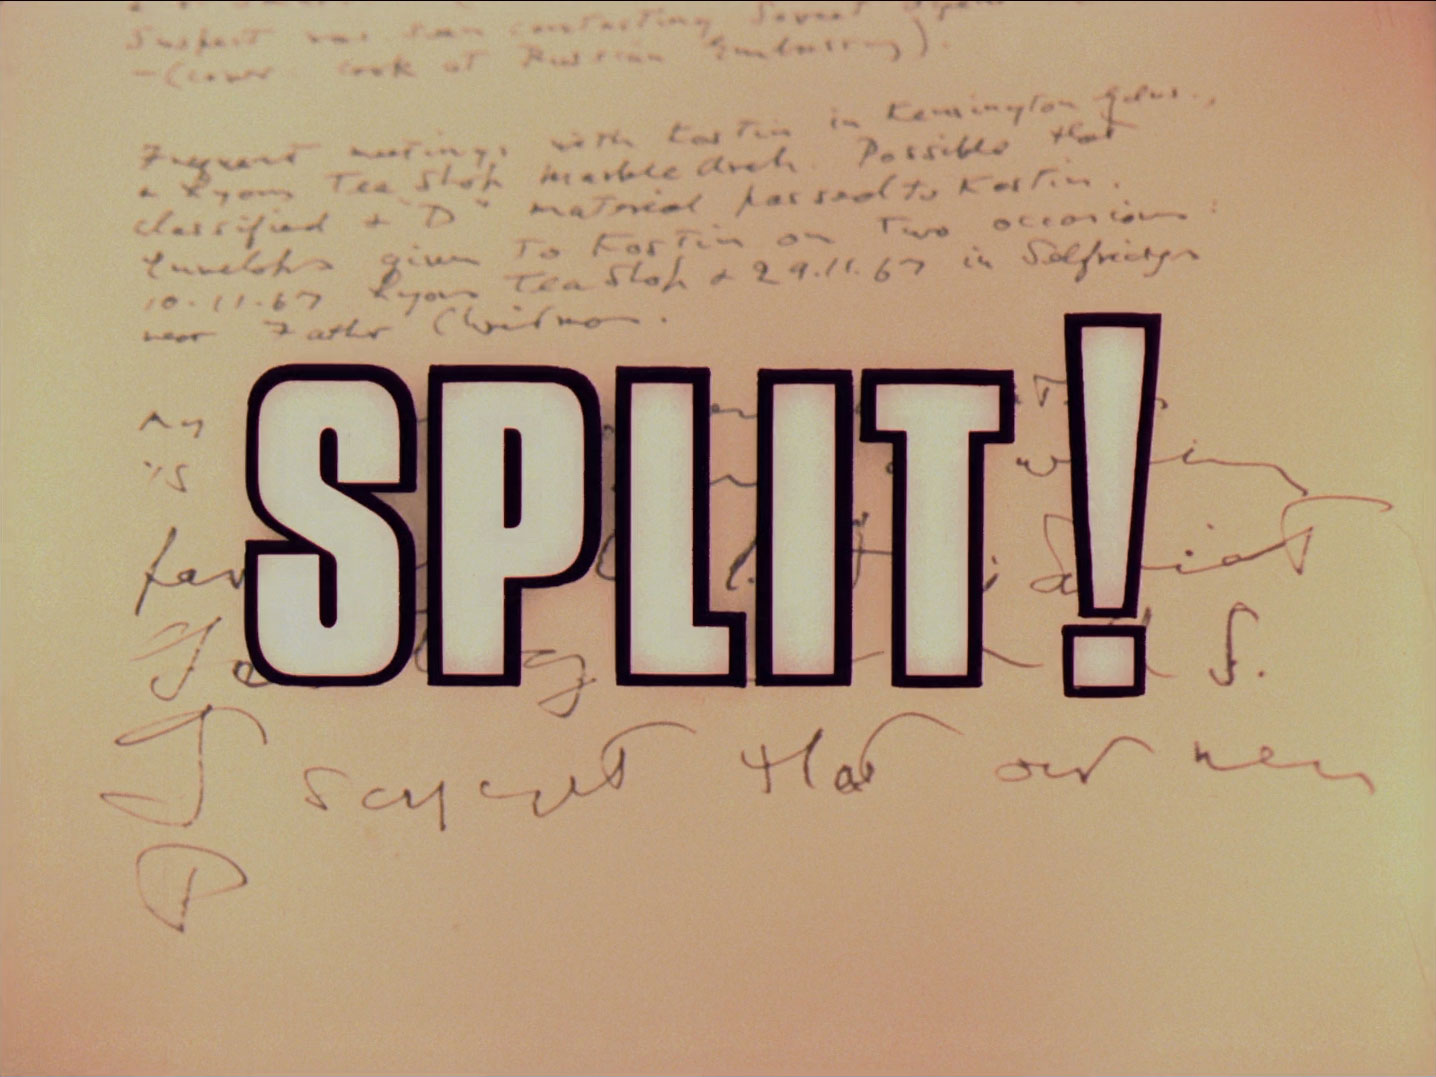
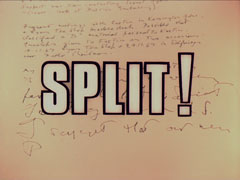
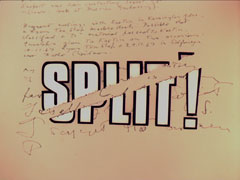
Split!
Teleplay by Brian Clemens
Directed by Roy Baker
Production No E.66.6.28 / E.67.9.2
Production completed: February 12 1968. First transmission: October 23 1968. First transmission (USA): April 10 1968.
Regional broadcasts
| Broadcaster | Date | Time |
|---|---|---|
| Thames Television | 23/10/1968 | 8:00pm |
| ATV Midlands | 24/10/1968 | 7:00pm |
| Granada Television | 9/02/1969 | 8:25pm |
| Anglia Television | 24/10/1968 | 7:00pm |
| Border Television | 3/11/1968 | 8:10pm |
| Channel Television | 24/10/1968 | 7:00pm |
| Grampian Television | 23/10/1968 | 8:00pm |
| Southern Television | 1/01/1969 | 8:00pm |
| Scottish Television | 30/01/1969 | 8:00pm |
| Tyne Tees Television | 23/10/1968 | 8:00pm |
| Ulster Television | 31/10/1968 | 7:00pm |
| Westward Television | 24/10/1968 | 7:00pm |
| Harlech Television | 24/10/1968 | 7:00pm |
| Yorkshire Television | 23/10/1968 | 8:00pm |
TV Times listing
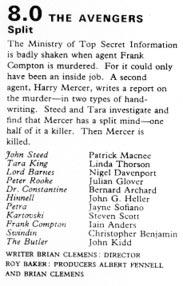
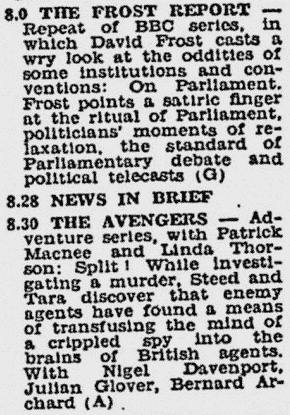
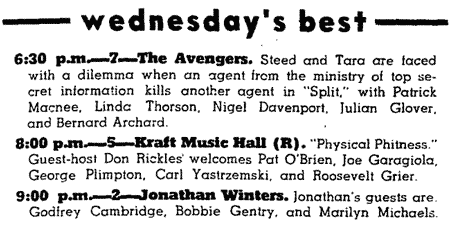
8.0 The Avengers
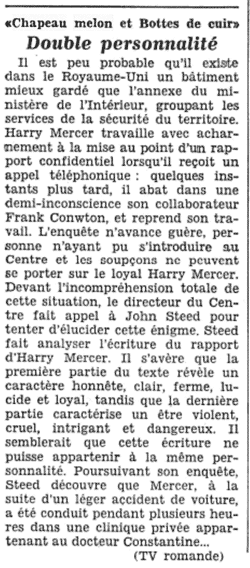
Split
The Ministry of Top Secret Information is badly shaken when agent Frank Compton is murdered. For it could only have been an inside job. A second agent, Harry Mercer, writes a report on the murder—in two types of hand-writing. Steed and Tara investigate and find that Mercer has a split mind—one half of it a killer. Then Mercer is killed.
| John Steed | Patrick Macnee |
| Tara King | Linda Thorson |
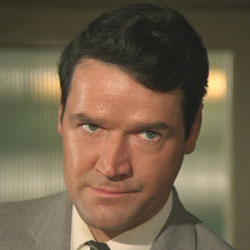
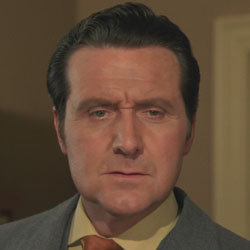
| Lord Barnes | Nigel Davenport |
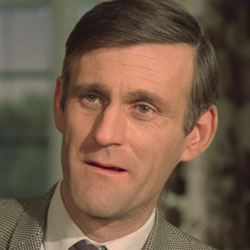
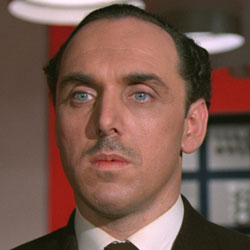
| Peter Rooke | Julian Glover |
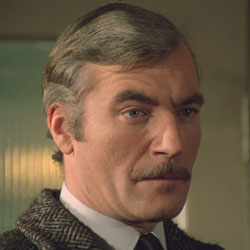
| Dr. Constantine | Bernard Archard |
| Hinnell | John G. Heller |
| Petra | Jayne Sofiano |
| Kartovski | Steven Scott |
| Frank Compton | Iain Anders |
| Swindin | Christopher Benjamin |
| The Butler | John Kidd |
Writer Brian Clemens; Director Roy Baker; Producers Albert Fennell and Brian Clemens
International broadcasts
| Broadcaster | Date | Time |
|---|---|---|
| ABN2 Sydney, Australia | 13/12/1968 | 8:00pm |
| ABV2 Melbourne, Australia | 3/12/1968 | 8:30pm |
| ABC New York, USA | 10/04/1968 | 7:30pm |
| ORTF2 France | 18/4/88 A2 | |
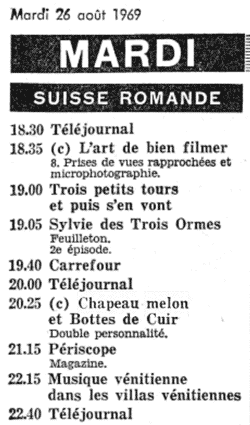
| Suisse Romande, Switzerland | 26/08/1969 | 8:25pm |
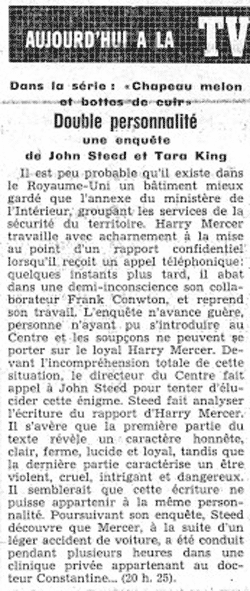
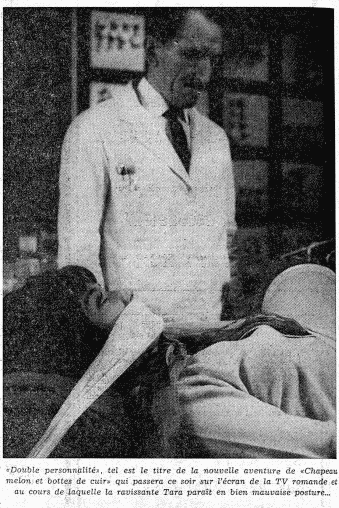
| French title | Double personnalité | |
| ZDF Germany | ||
| German title | Geist sucht Körper | |
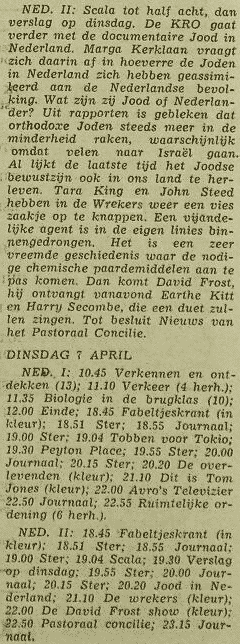
| KRO Netherlands | 7/04/1970 | 9:10pm |
| Dutch title | Gespleten persoonlijkheid | |
| TTI Italy | 11/12/1980 C51 | |
| Italian title | Doppio gioco? | |
| Spain | 13/10/1969 | 11:00pm |
| Spanish title | Doble personalidad | |
This episode was not broadcast in Germany and would not screen there until 1999. Italy also didn’t see it until 1980 and France not until 1988, except for viewers near the Swiss border.
Continuity & Trivia
- 1:14 — There’s a hair on the right of screen, halfway up.
- 2:54 — Mercer’s codename is Sphinx.
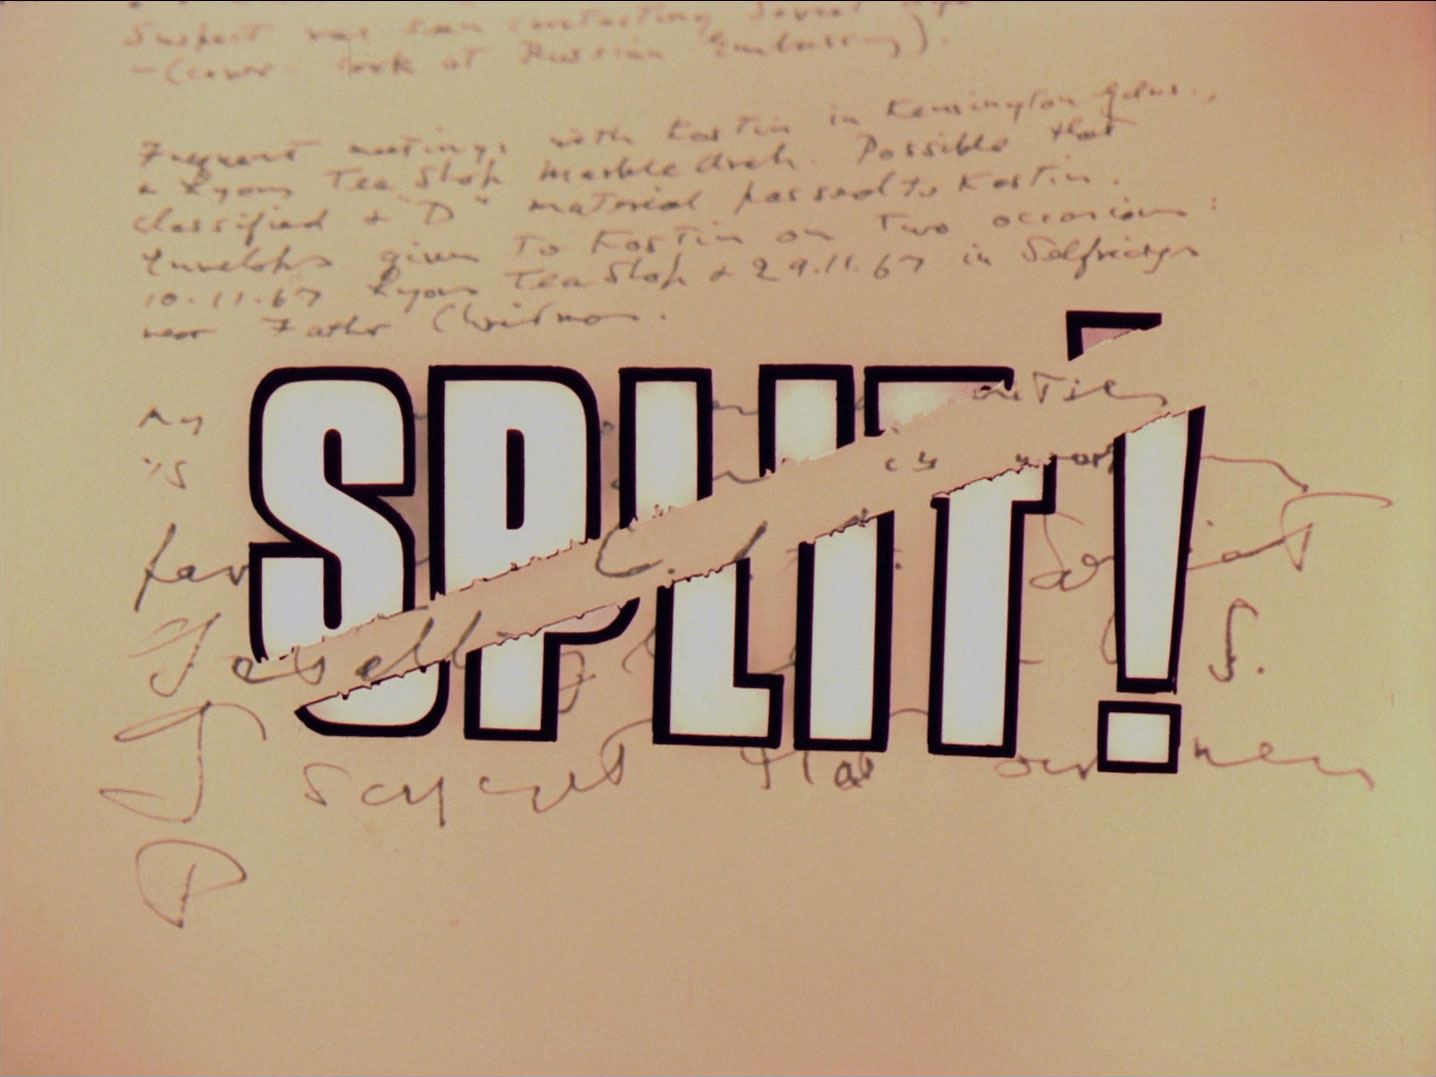
- 2:55–4:20 — Mercer’s report reads (italics mark where Kartovski’s writing takes over):
REPORT FROM AGENT
MERCER ("SPHINX")(unreadable paragraph) .... under surveillance from .... 18.12.68 by agents R. Riety ... contacting Secret Agent Kastin ... - (codes “There” & “Quick”) ... - (cover, look at Kastin’s transferring).
Frequent meetings with Kastin in Kensington Gdns & Lyons Tea Shop, Marble Arch. Possible that classified & “D” material passed to Kastin. Envelope given to Kastin on two occasions. 10.11.67 Lyons Tea Shop & 29.11.67 in Selfridges near Father Christmas.
Any conclusion in these activities is that Gerlan is working for the C.I.A.; Soviets Grt Brtiain & US I say not that our her.. P
- 4:15 — Split! is one of those rare episodes with more than one title screen:
- 4:51 (4:42) - Tara’s car rounds the corner with only a driver in it, but in the close-up seconds later Barnes is next to her.
- 4:53–5:21 — Tara & Barnes : colour-shift during the back projection scene, and a curled hair is stuck against the middle right edge of screen.
- 5:21–5:58 — Lord Barnes & Tara both have red card security passes.
- 5:42 — We get a glimpse of the boom microphone hanging down in the hallway that opens out to the left.
- 8:28–8:56 — There’s a black object at the top left of the screen - must be on the camera or transfer plate, as it remains in the same place as the vision shifts
- 11:46 onwards - There’s a hair stuck to the very top edge of camera 1 which keeps on appearing, especially noticeable in the midshots and close-ups of Maurice Good as he talks to Rook and then telephones the hospital - it reappears with every cut back to Maurice until 13:45.
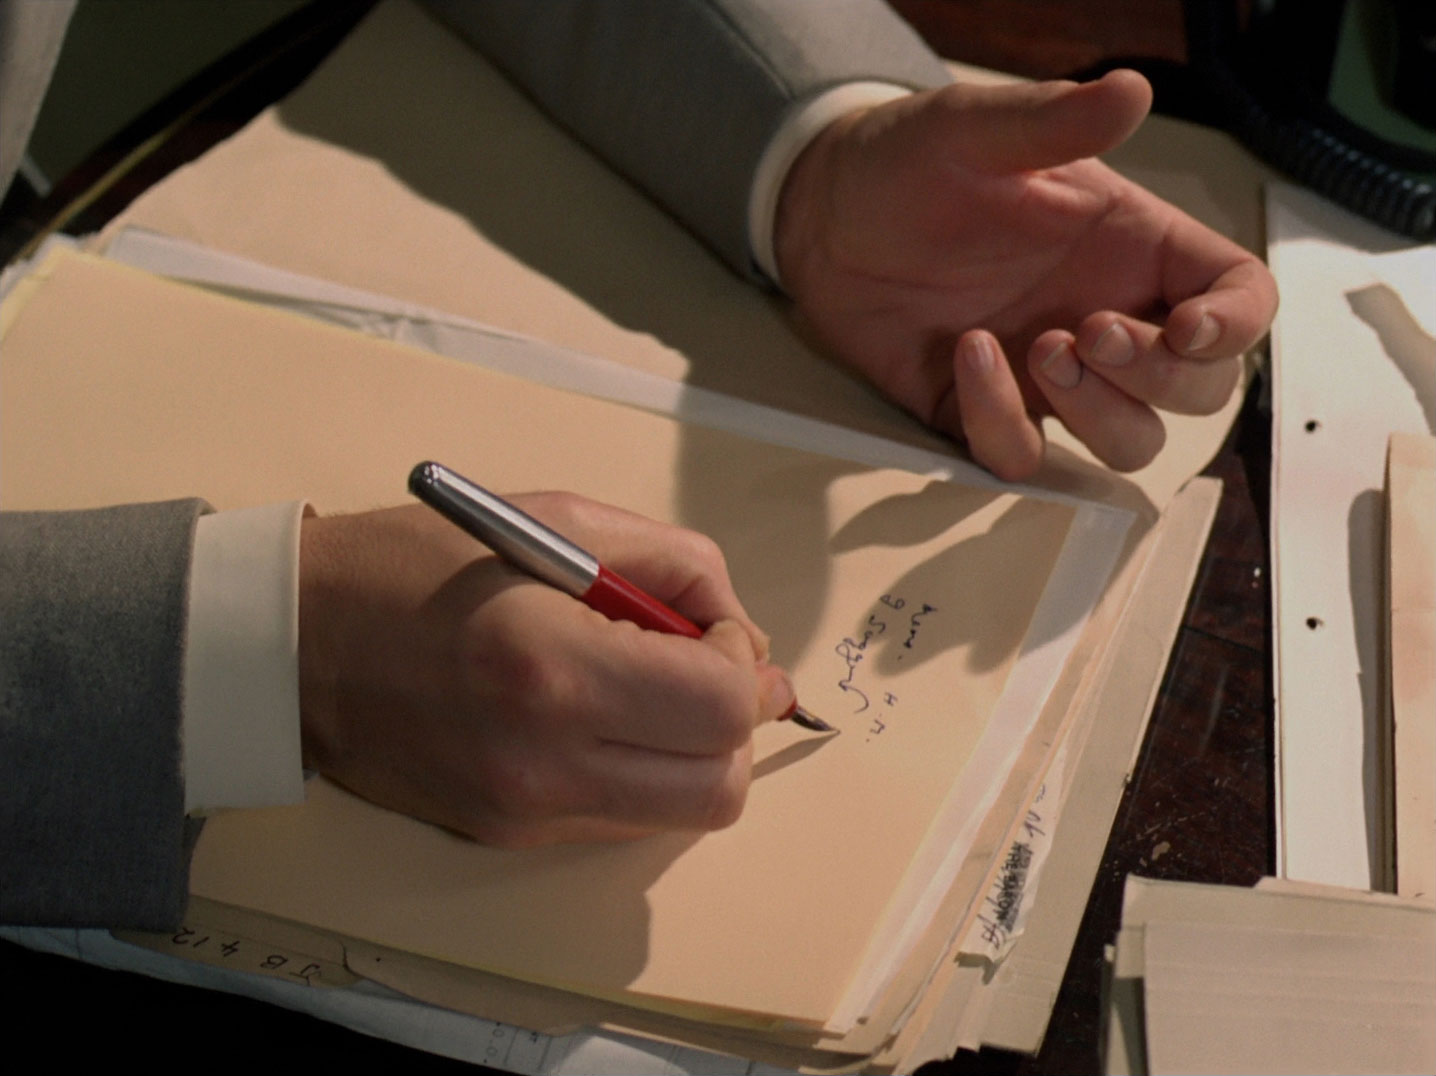
- 11:48 — Mercers’ file is labelled “Ministry of Defence - RY-593 Demonstration”
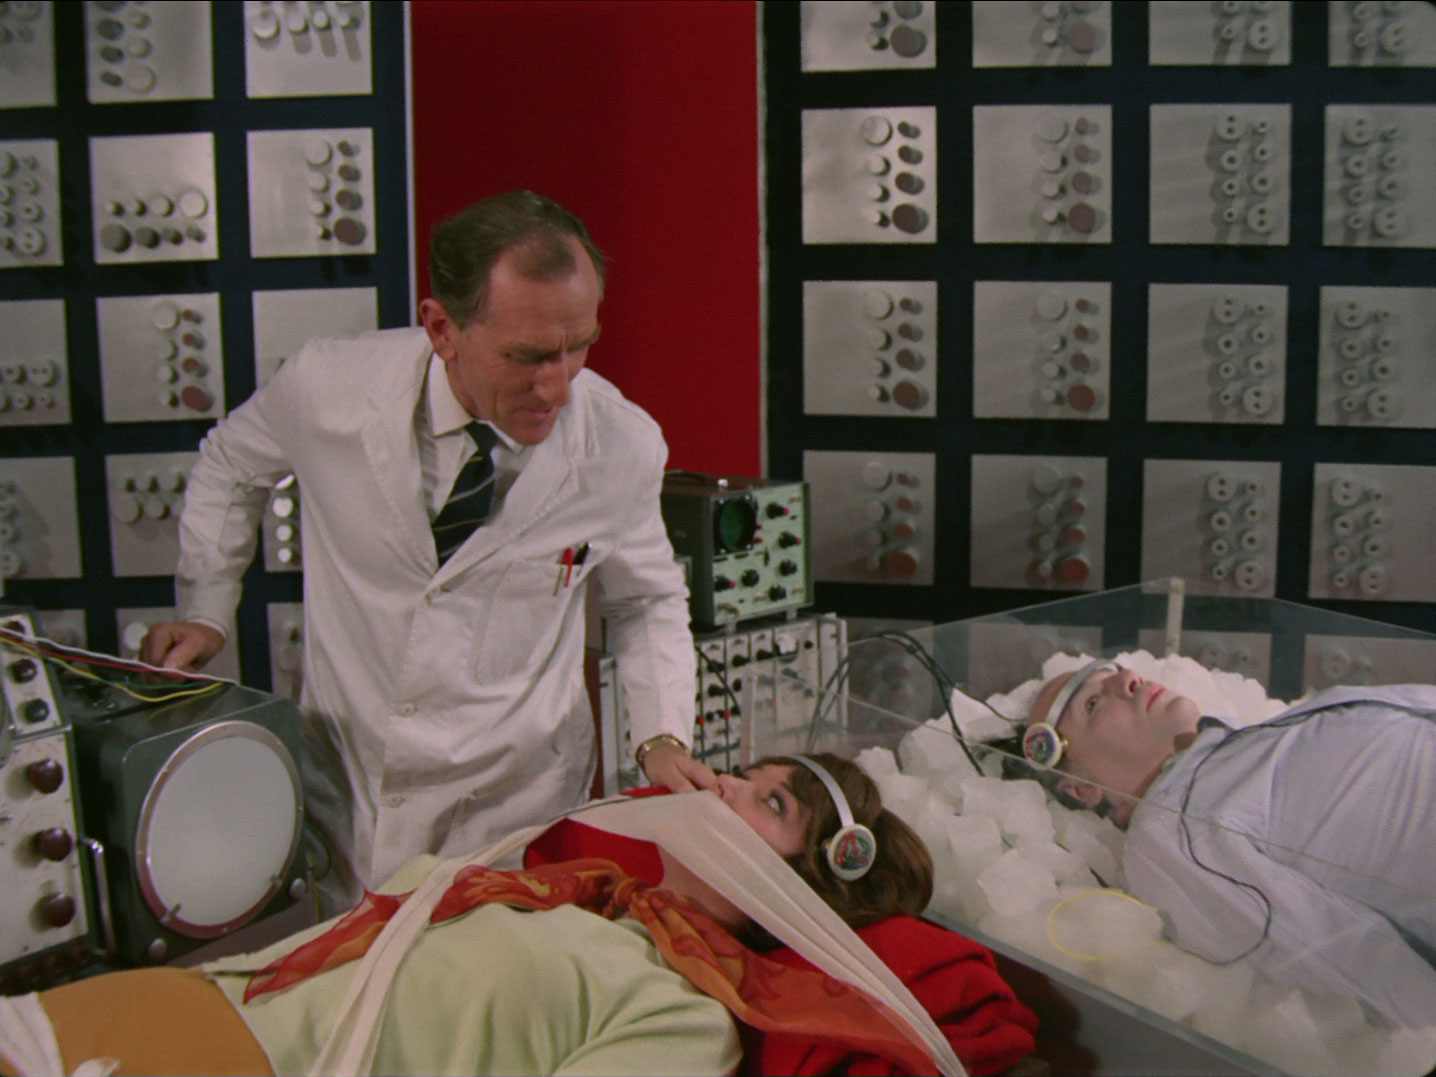
- throughout - The decorations on the wall of Dr. Constantine’s operating theatre reappear in Dr. Jaeger’s consulting room in My Wildest Dream and at the Carmadoc Research Establishment in All Done with Mirrors.
- 15:19–15:22 — There’s a hair mid right again, curled up, not down - must be on the transfer plate as it stays on screen across a cut.
- 20:35 — Steed has a phone in his car.
- 21:13 — More colour shift for Steed’s back-projection scene.
- 22:46, 29:05 and throughout - The set for Barnes’ study and hallway were used as the ante-chamber and hall outside Mother’s office in The Forget-Me-Knot.
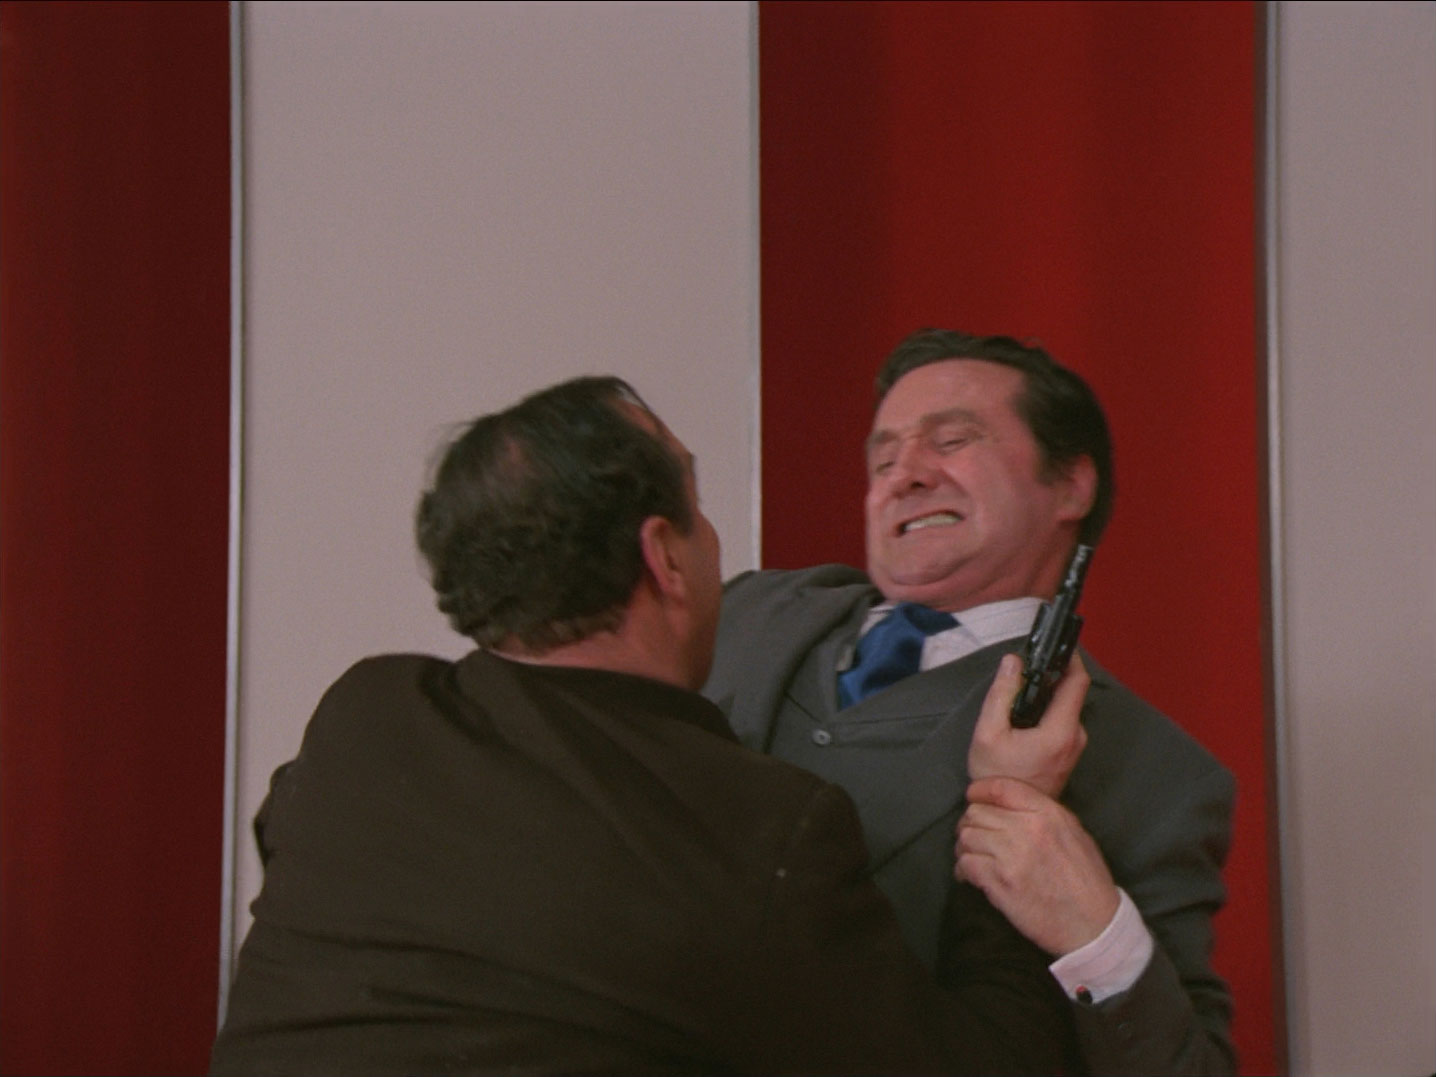
- 23:10 — Roy Ward Baker evokes “Dial M for Murder” in Barnes’ attack on Steed.
- 26:30 — Barnes’ note (italics mark where Kartovski’s writing takes over):
Subject Myself
I am alarmed to check a change in my behaviour - 29:12 — Colour shift again for Lord Barnes’ driving scene
- 29:40 and throughout - Nullington Hospital is actually one of the buildings of Haberdasher’s Aske’s School, you can see one of the plaques outside the doors clearly enough to read it. Same location used in Never, Never Say Die??
- 30:31 — Yet more colour shift, this time for Tara & Rook.
- 31:19 — There’s something caught against the top left corner of the transfer plate, it moves about a bit and finally disappears at 32:05.
- 34:16 — They’ve dubbed in the word “brain” after the words “to infuse his thought, his ideas into another man’s / ”
- 35:38 — Tara is playing the piano.
- 35:58 — Still more colour-shifted back projection for Tara.
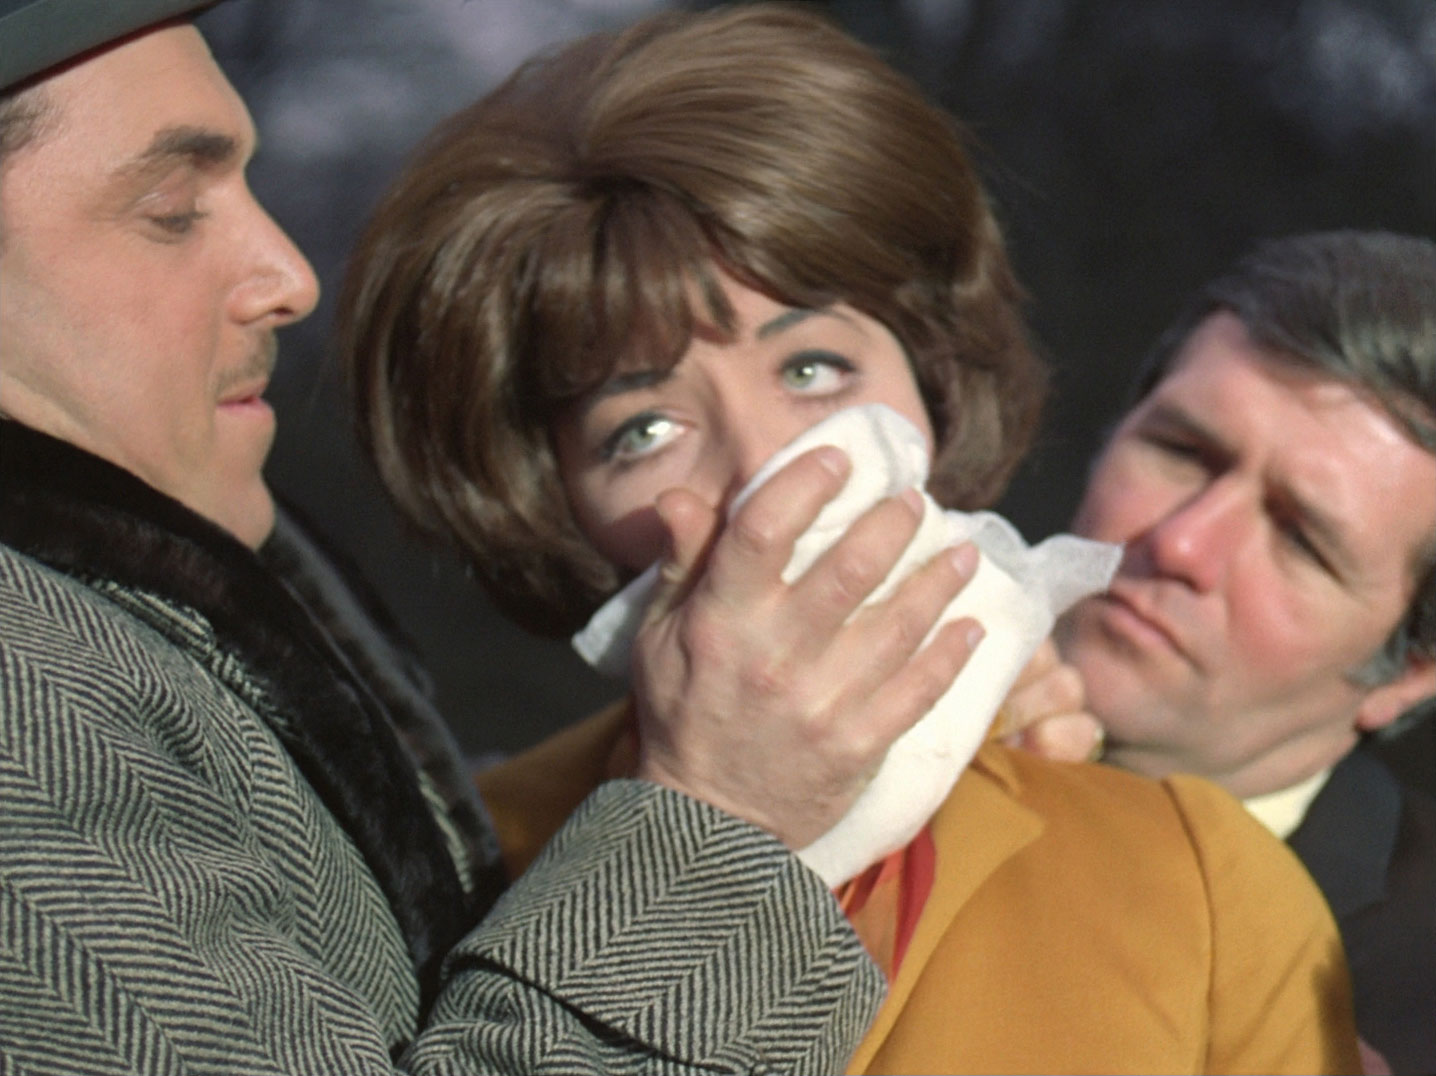
- 36:30 — Tara is captured and chloroformed by Hinnell and Morrell.
- 36:52 — Tara is tied to the gurney with... thin surgical gauze! - but it comes in handy at 41:25 when Steed cuts her free with a scalpel.
- 38:51 — Colour shift again in the back-projection as Steed drives to the hospital.
- 39:37 — There are cracks in the windshield of the Bentley.
- 43:18 onwards - The stuntman playing Hinnel doesn’t look a bit like John G. Heller.
- 40:24 — Something slides over the top right corner of the tranfer plate, then back again, but the hairline of its edge remains on screen until 42:24 and returns at 42:53–56 (maybe on camera, as it’s not in the close-ups of the files), and again from 43:10 to 43:43.
- 42:24–42:52 — There’s a thin hair stuck to the top edge of the screen for the whole of the scene in the hospital reception area.
- 43:53 — Hinnel whips around to face Steed after he shoots Dr. Constantine, but in the next shot he’s facing the doctor again as Steed gets to his feet and attacks him from behind.
- 46:58 — Steed’s front door doesn’t shut properly.
- 47:16 — Tara’s improbable cocktail request is for: a tall crystal glass full of crushed ice, permeated with grenadine, laced with a mixture of Cantonese Sake and Crème de violettes, topped with a measure of Calvados, a tablespoon of devonshire cream and a fresh, unripe strawberry.
- 48:00 — The “I was changing” joke with Steed in the tag scene doesn’t make sense as he had already demonstrated imperviousness to the trigger word “Boris”.
- Running time: 49′08″
The Transport
| Marque | Colour | Number |
|---|---|---|
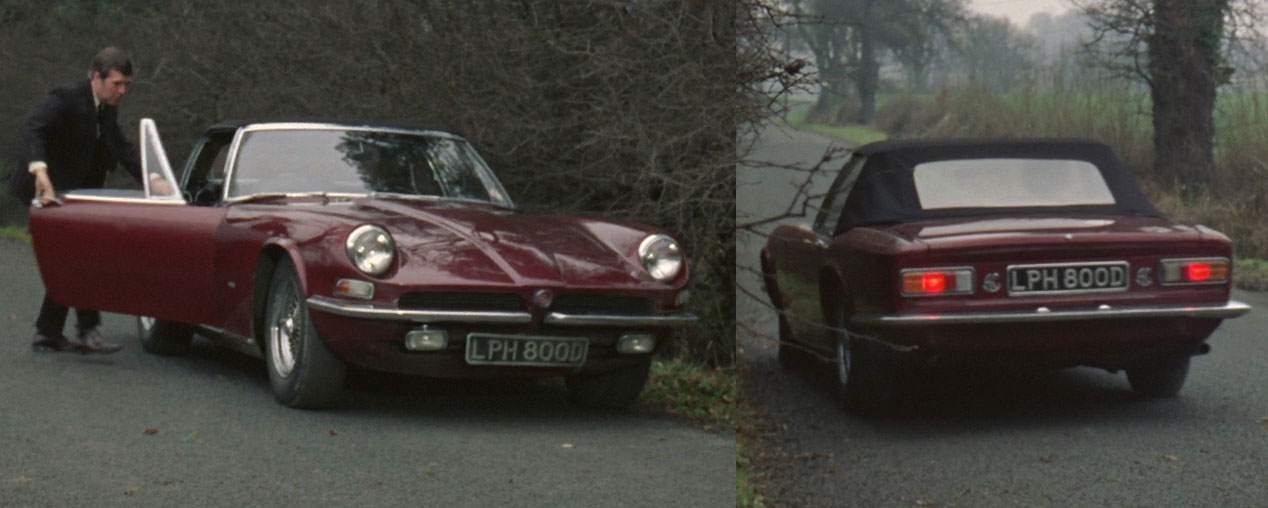
| AC 428 Frua Drophead Convertible Coupé 1965 Prototype (CF1) | maroon | LPH 800D |
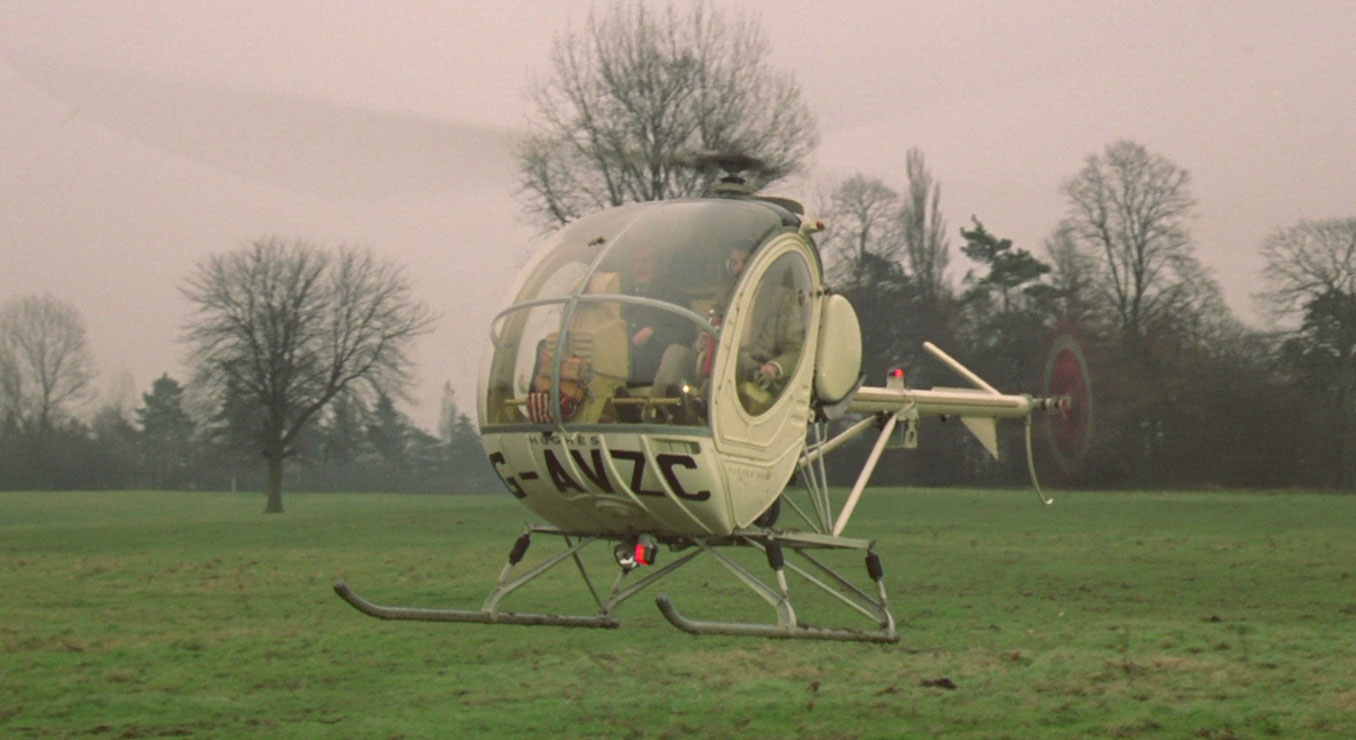
| Hughes 300 helicopter | buff | G-AVZC |
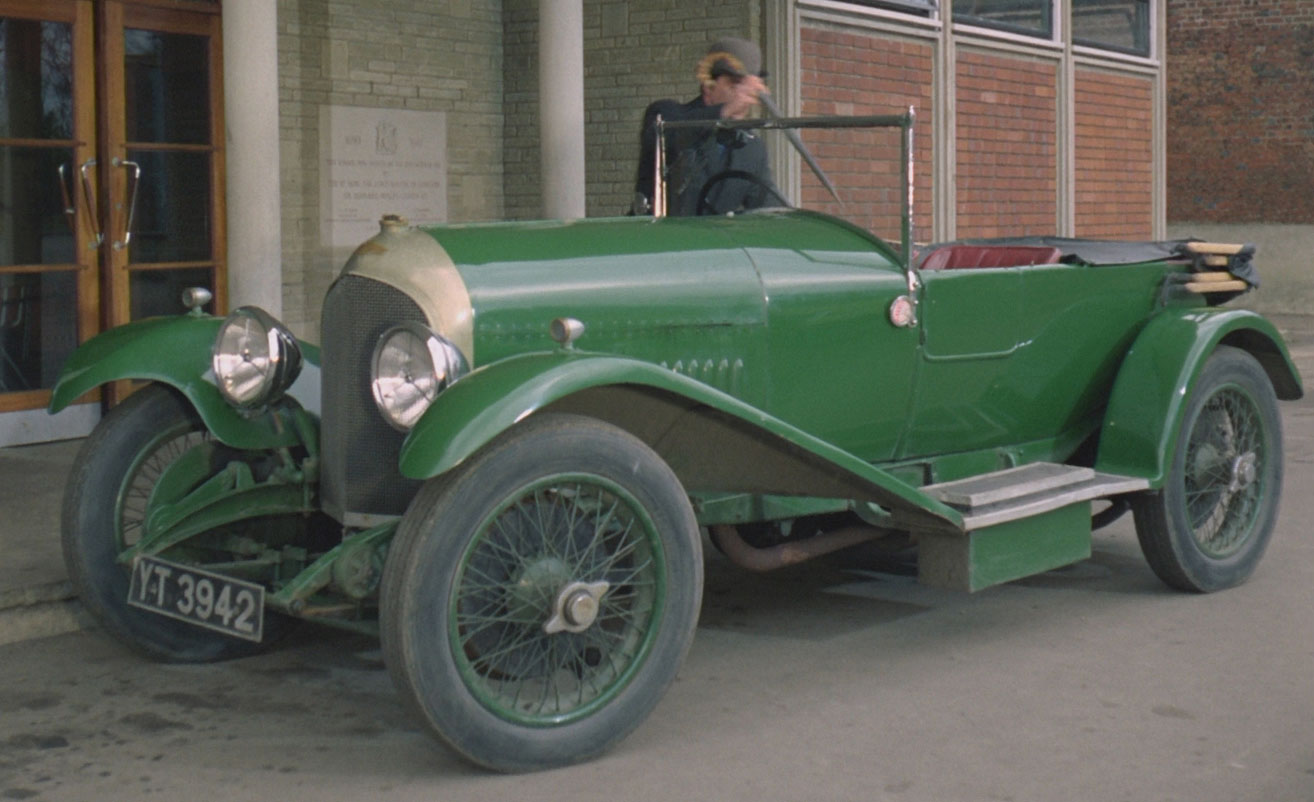
| Bentley 3 Litre 1926 | british racing green | YT 3942 |
| Aston Martin DBS Vantage (chassis DBS/5001/R) 1967 | maroon | YKX 2F |
| Triumph TR4A IRS | powder blue | NHL 1 |
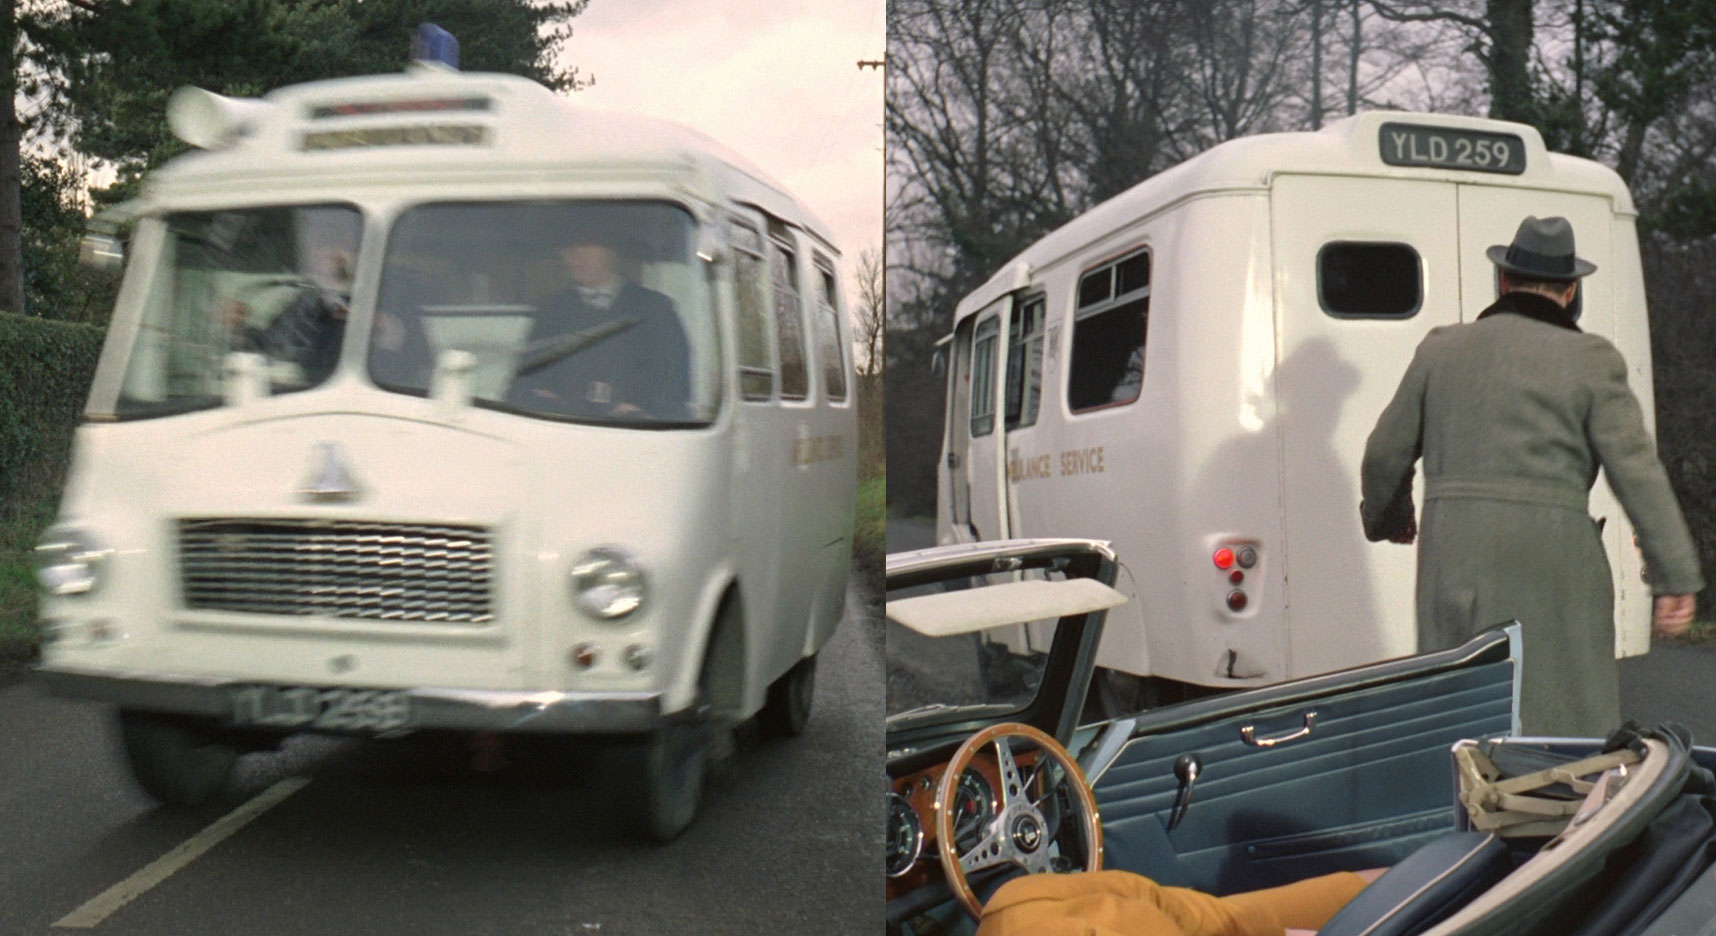
| Austin Wandsworth/LDO Ambulance | white | YLD 259 |
Who’s Killing Whom?
| Victim | Killer | Method |
|---|---|---|
| Frank Compton | Harry Mercer | pistol |
| Harry Mercer | Lord Barnes | pistol |
| Dr. Constantine | Hinnell | pistol |
| Boris Kartovski | Hinnell & John Steed | life support system destroyed |
