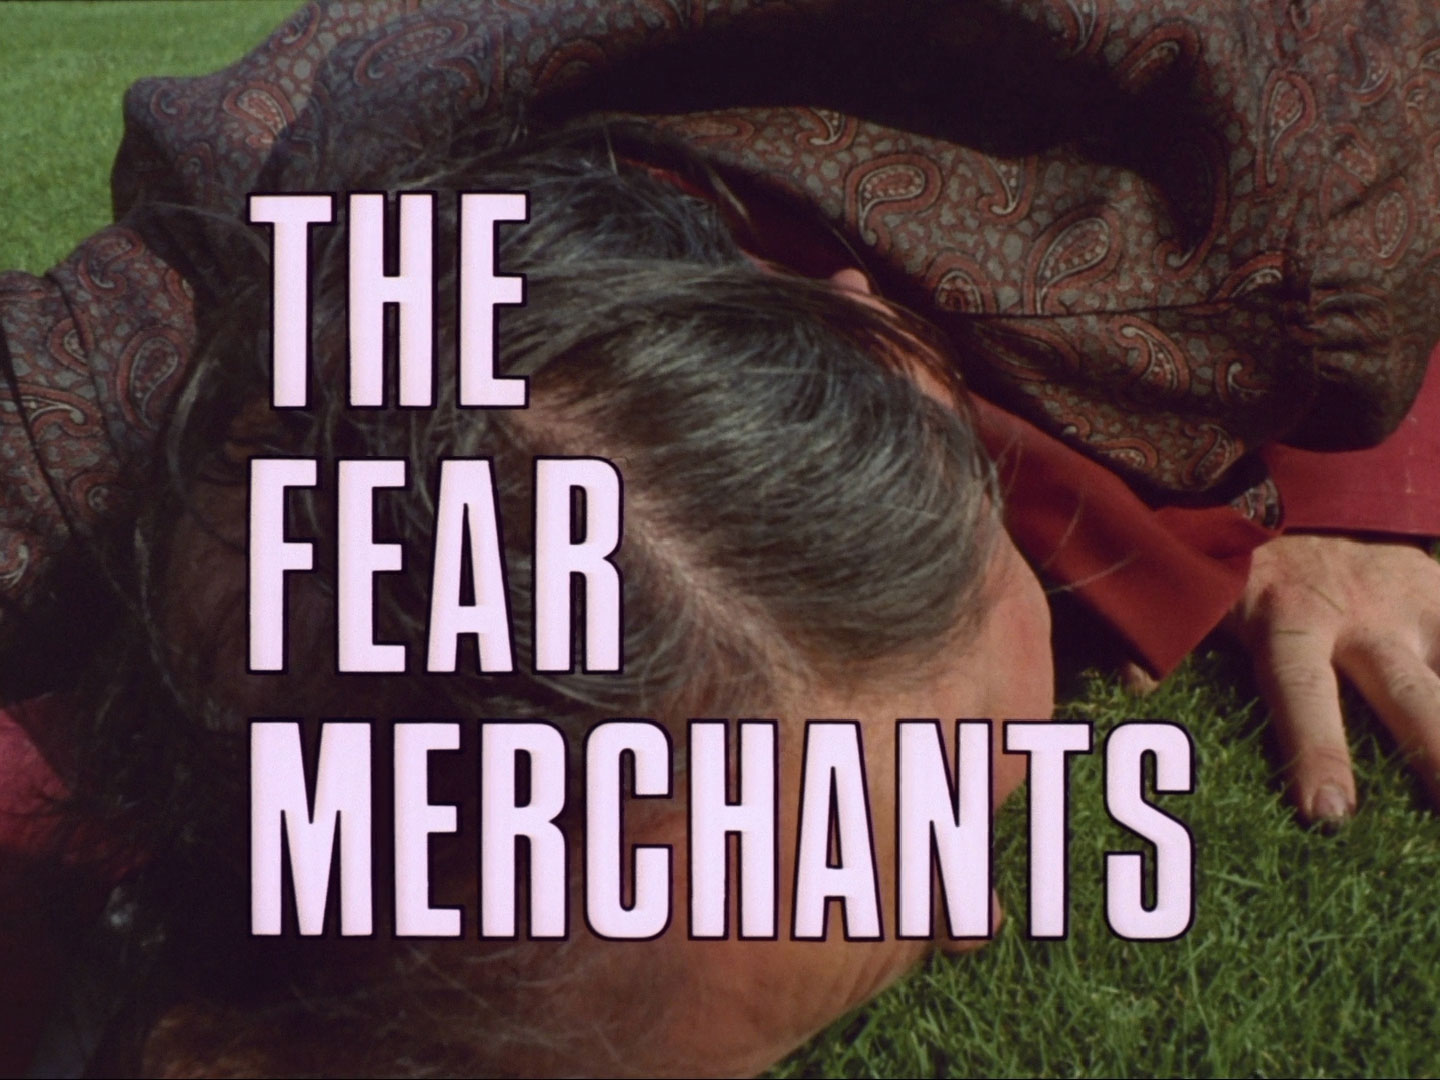

Series 5 — Episode 2
The Fear Merchants
by Philip Levene
Directed by Gordon Flemyng
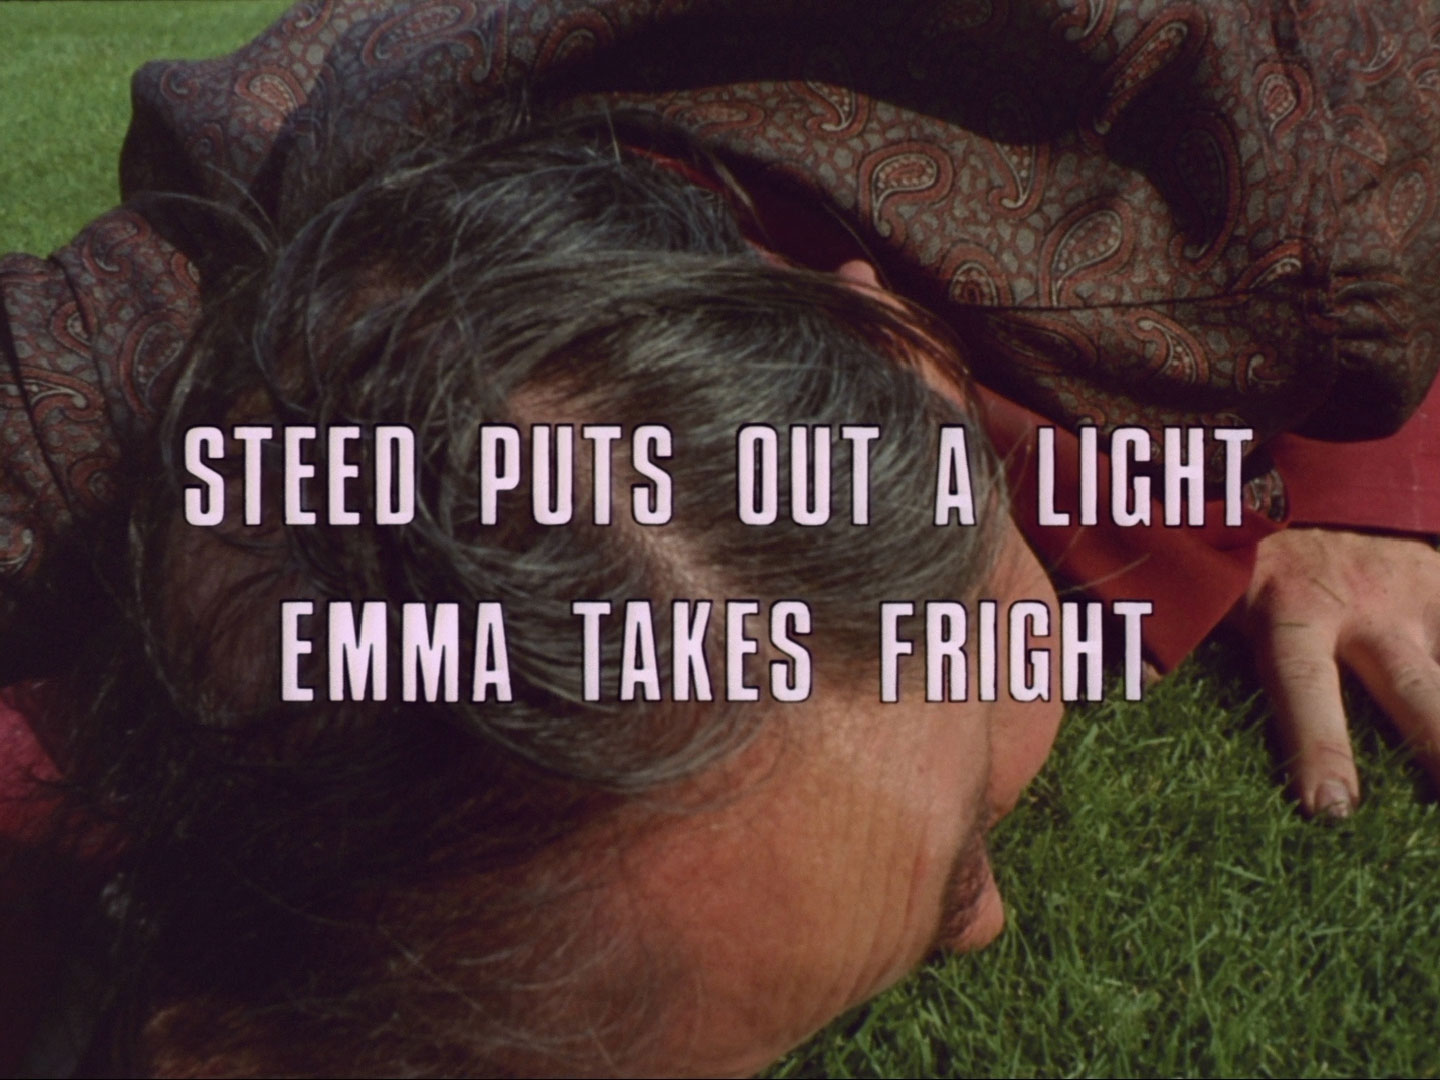
Steed puts out a light
Emma takes fright
Production No E.66.6.1
Production completed: October 1 1966. First transmission: January 16 1967.
Regional broadcasts
| Broadcaster | Date | Time |
|---|---|---|
| Rediffusion London | 20/01/1967 | 8:00pm |
| ABC Midlands | 21/01/1967 | 9:10pm |
| ABC North | 21/01/1967 | 9:10pm |
| Anglia Television | 20/01/1967 | 8:00pm |
| Border Television | 22/01/1967 | 8:10pm |
| Channel Television | 20/01/1967 | 8:00pm |
| Grampian Television | 6/12/1967 | 8:00pm |
| Southern Television | 16/01/1967 | 8:00pm |
| Scottish Television | 21/01/1967 | 9:10pm |
| Tyne Tees Television | 21/01/1967 | 9:10pm |
| Ulster Television | 7/12/1967 | 7:30pm |
| Westward Television | 20/01/1967 | 8:00pm |
| Television Wales & West | 18/01/1967 | 8:00pm |
TV Times listing
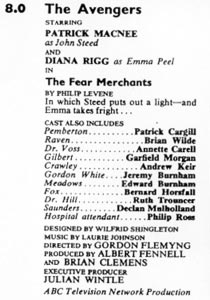
8.0 The Avengers
starring
Patrick Macnee
as John Steed
and
Diana Rigg as Emma Peel
in
The Fear Merchants
By Philip Levene
In which Steed puts out a light — and Emma takes fright …
Cast also includes
| Pemberton | Patrick Cargill |
| Raven | Brian Wilde |
| Dr. Voss | Annette Carell |
| Gilbert | Garfield Morgan |
| Crawley | Andrew Kier |
| Gordon White | Jeremy Burnham |
| Meadows | Edward Burnham |
| Fox | Bernard Horsfall |
| Dr. Hill | Ruth Trouncer |
| Saunders | Declan Mulholland |
| Hospital attendant | Philip Ross |
Designed by Wilfrid Shingleton
Music by Laurie Johnson
Directed by Gordon Flemyng
Produced by Albert Fennell
and Brian Clemens
Executive Producer
Julian Wintle
ABC Television Network Production
International broadcasts
| Broadcaster | Date | Time |
|---|---|---|
| ABN2 Sydney, Australia | 9/05/1967 | 8:00pm |
| ABV2 Melbourne, Australia | 8/05/1967 | 8:00pm |
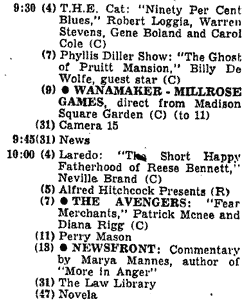
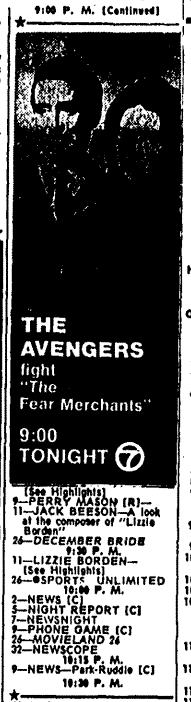
| ABC New York, USA | 27/01/1967 | 10:00pm |
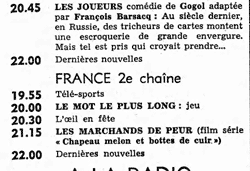
| ORTF2 France | 9/07/1968 | 9:15pm |
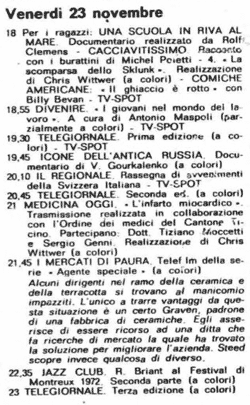
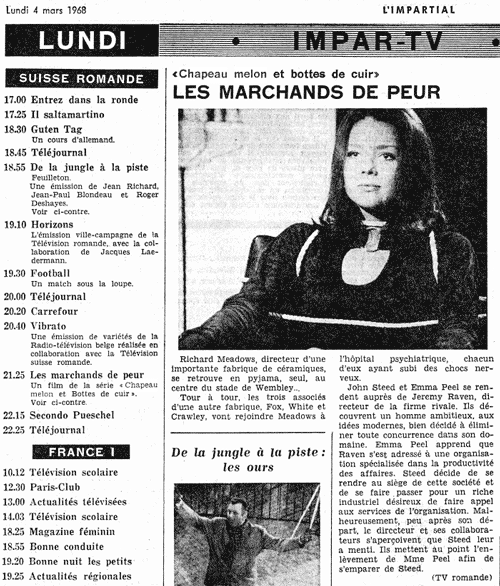
| Suisse Romande, Switzerland | 4/03/1968 | 9:25pm |
| French title | Les marchandes de peur | |
| ZDF Germany | 19/12/1967 | 9:15pm |
| German title | Schock frei Haus | |
| KRO Netherlands | 9/08/1969 | 9:35pm |
| Dutch title | Handel in angst | |
| Svizzera Italiana | 23/11/1973 | 9:45pm |
| Italian title | i mercanti di paura | |
| Spain | 2/10/1967 | 4:10pm |
| Spanish title | Los comerciantes del miedo | |
There is an episode listed for broadcast on 12th December 1967 in the Netherlands under the title “De vreesaanjagers” which could conceivably be The Danger Makers - but is more likely an early Dutch translation of the title for this episode, later shown (9/8/1969) as “Handel in Angst”. Most listings for 12th December 1967 have “De autorally” (Dead Man’s Treasure) instead so even if it had been The Danger Makers, it may not have been broadcast in Holland anyway.
Episode Rating
| Subject | 0–5 |
|---|---|
| Direction | 3½ stars |
| Music | 4 stars |
| Humour | 2 stars |
| Intro/tag | 3½ stars |
| Mastermind | 4½ stars |
| Plot | 4 stars |
| Emma | 4 stars |
| Set Design | 3½ stars |
| Overall (0–10) |
7½ stars |
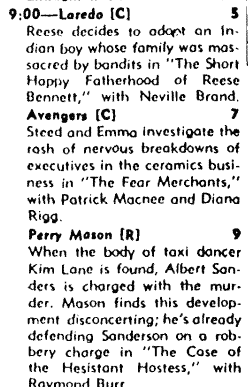
Psychological thrillers are right up my alley, so I give this episode the thumbs up. I don’t know if you could exactly call it a likeable episode, but one may appreciate its darkness. Great acting and a strong plot make this a most memorable episode.
A man awakes in the middle of Wembley stadium and goes mad,
but he’s not the only one.
Emma receives a box of chocolates - but it’s empty except for
a card from Steed declaring they’re needed.
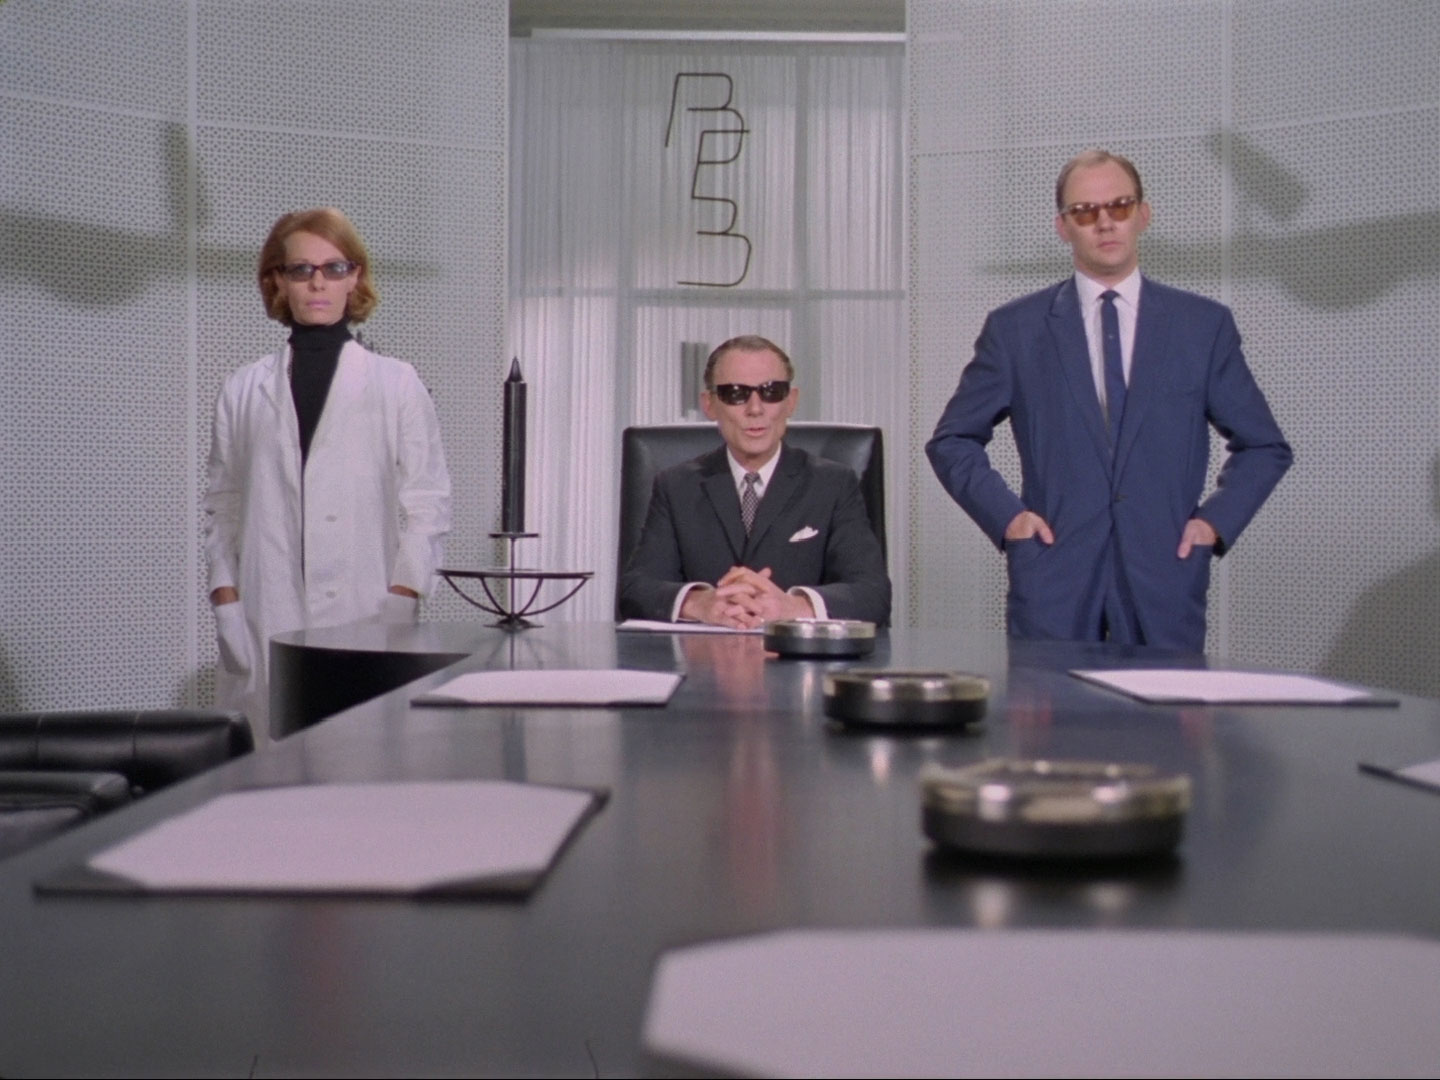
All of Jeremy Raven’s business rivals are going mad or dying,
through one fear or another. The Business Efficiency Bureau
have a motto: “our merchandise is fear” - they discover
people’s fears and frighten them to death. Steed, determined
to get to the bottom of their plot, enrols as a client and Mrs
Peel becomes his business rival. The Avengers close down the
B.E.B. by discovering the evildoers are afraid of the dark.
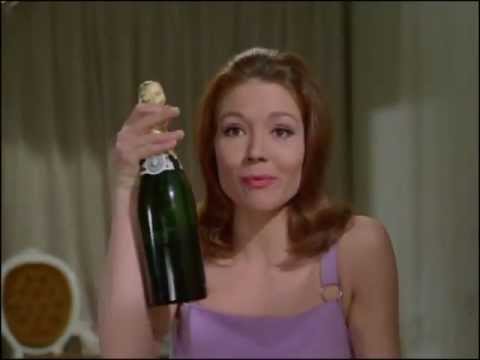
Mrs. Peel discovers that Steed is afraid she may have run out
of champagne.
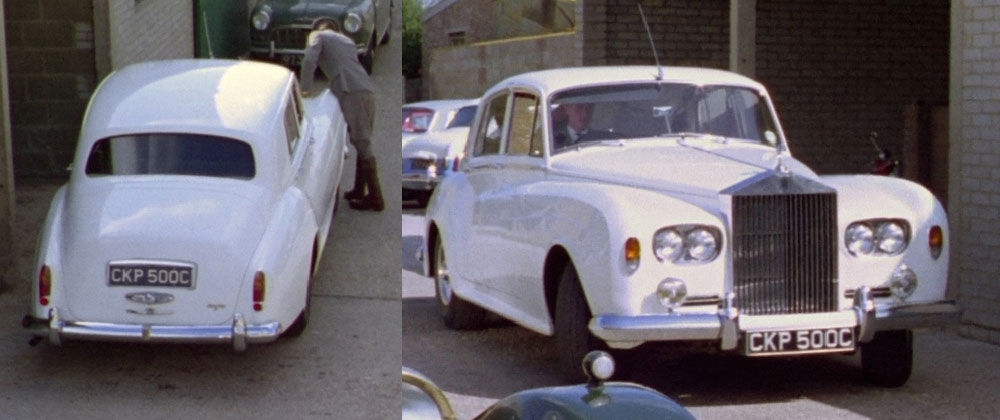
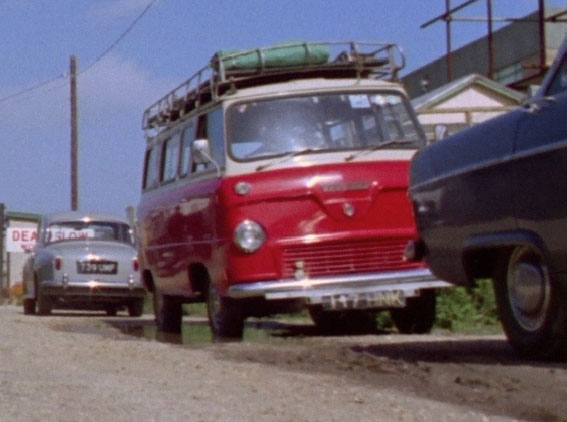
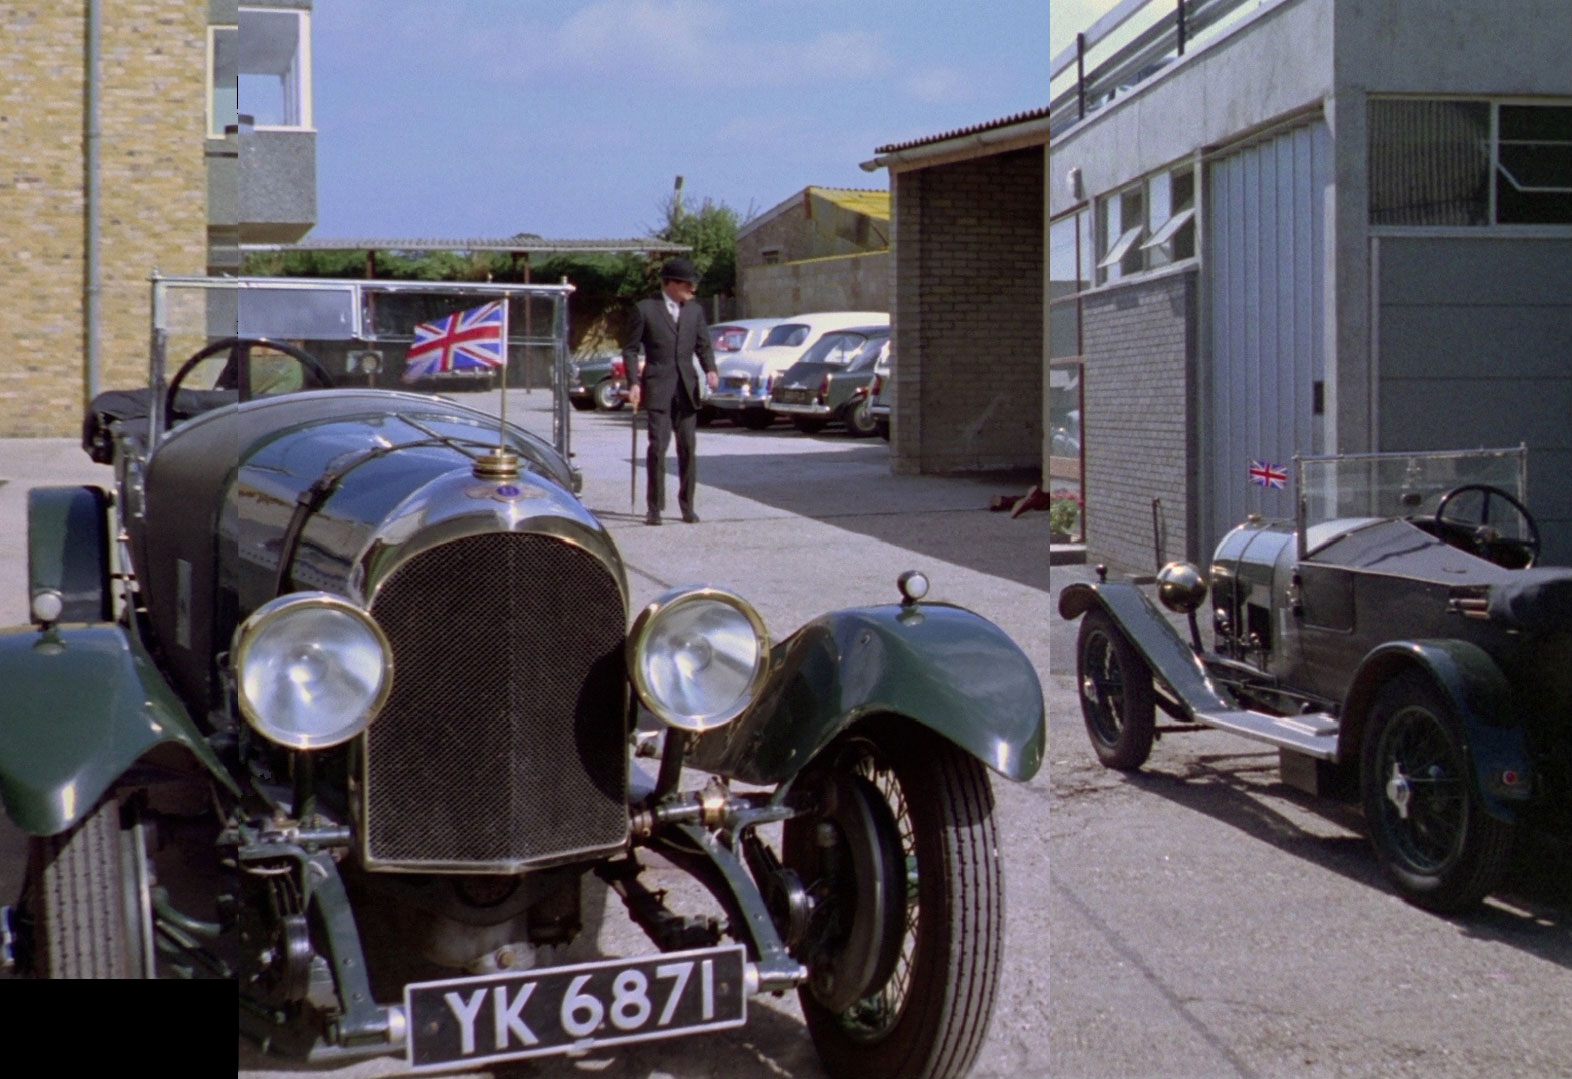
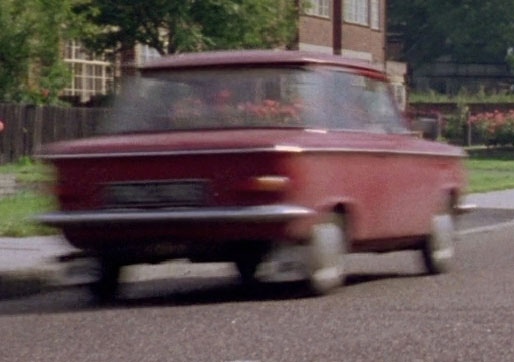
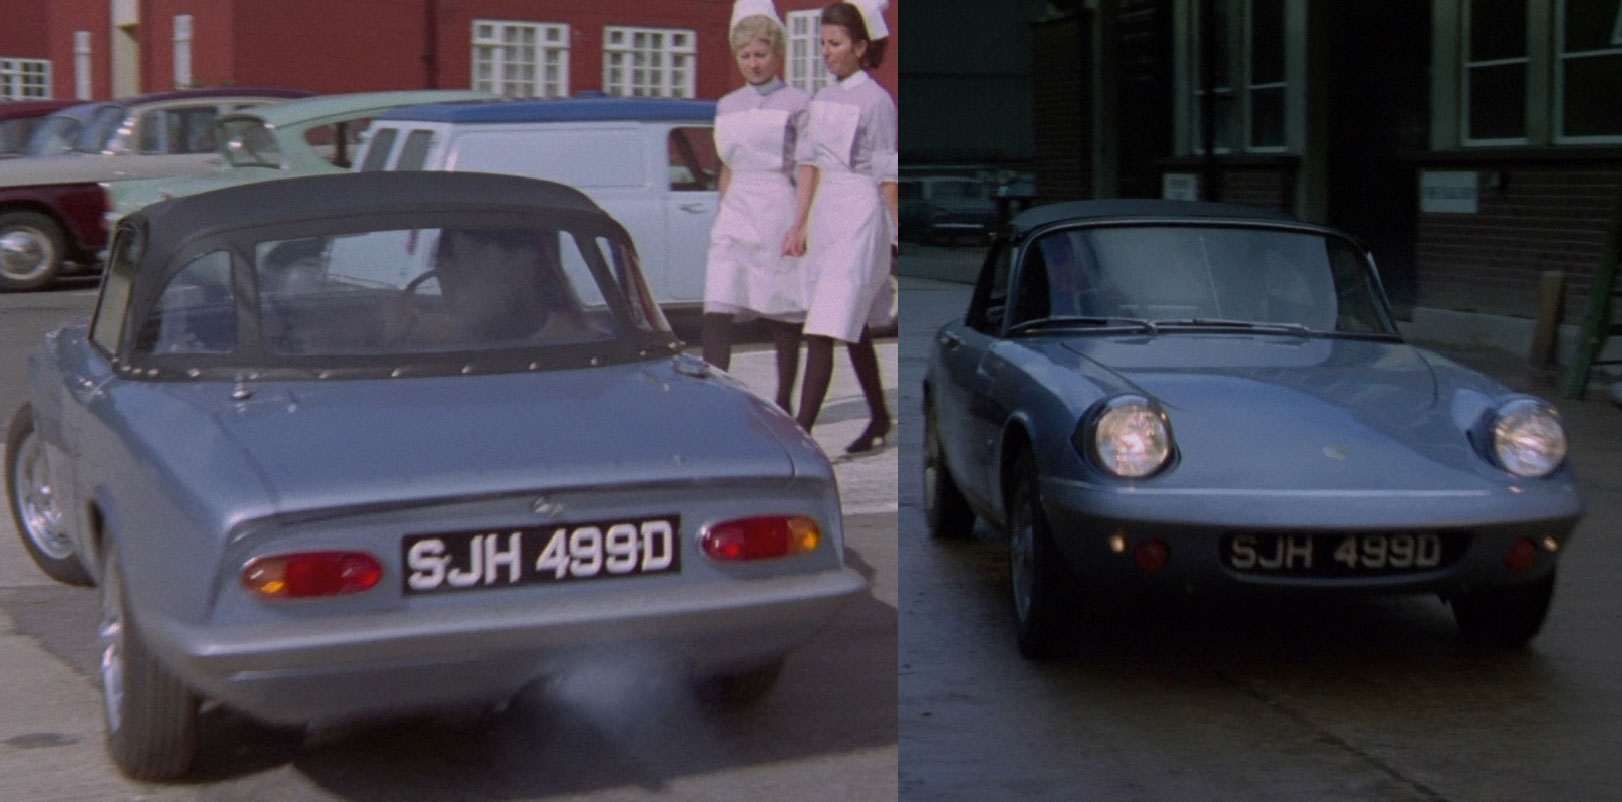
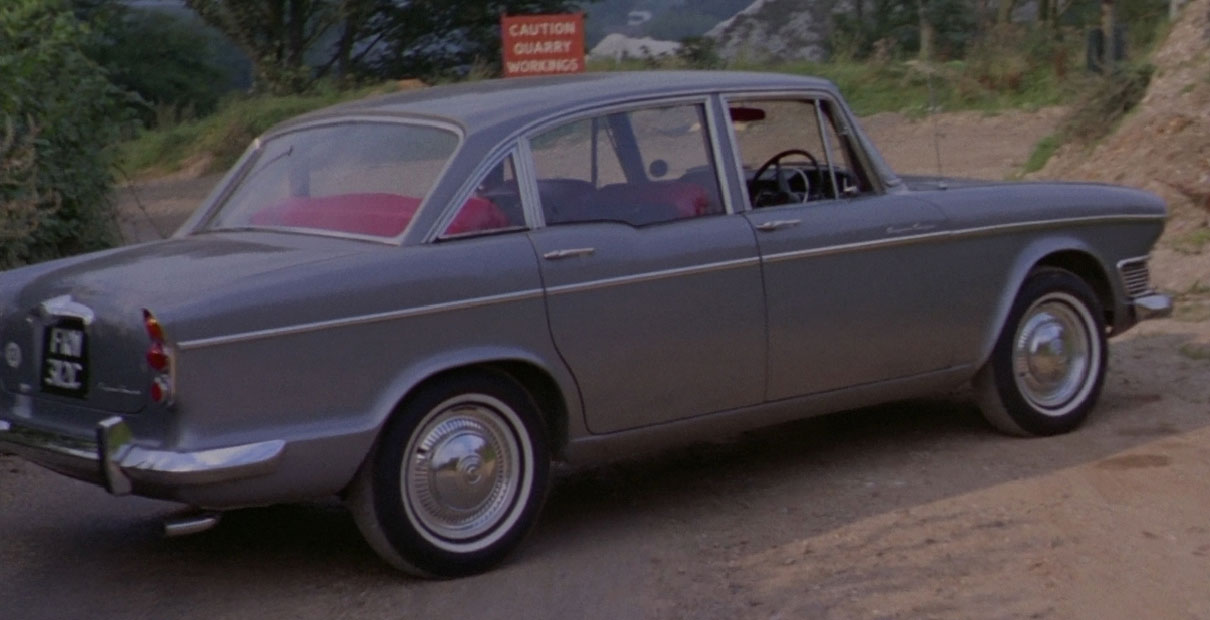
The Cars
| Marque/Model | Colour | Number Plate |
|---|---|---|
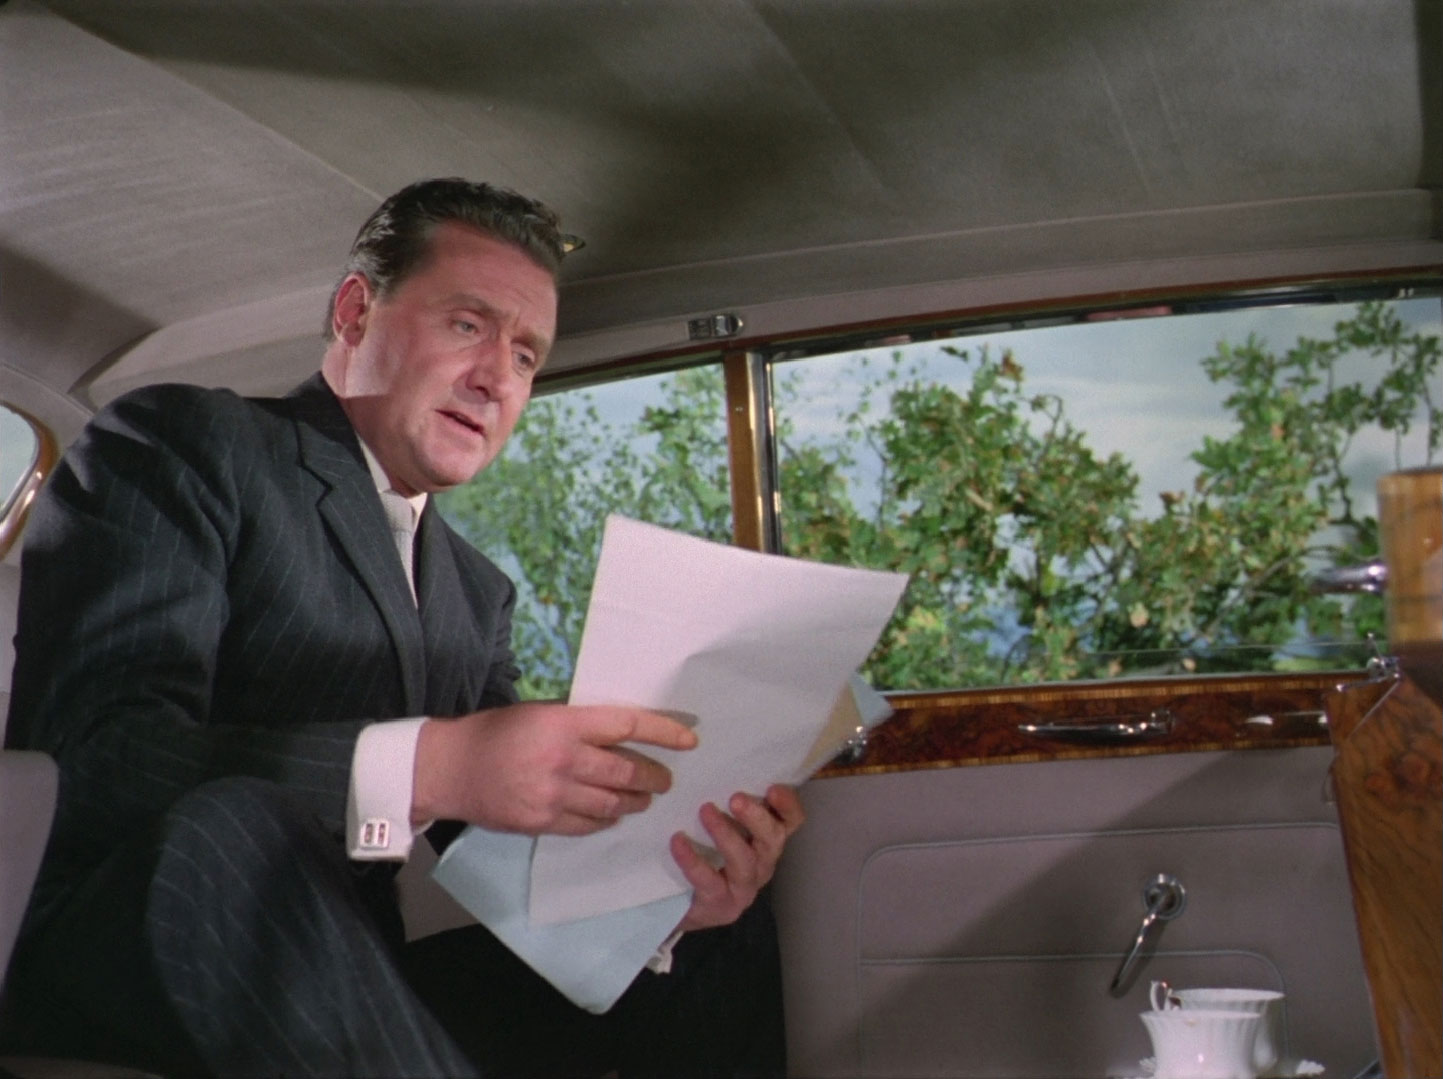
| Rolls-Royce Silver Cloud III standard steel saloon (external shots) Rolls-Royce Phantom V 7-passenger limousine (H J Mulliner Park-Ward coachwork) |
porcelain white | CKP 500C |
| Morris Mini | green & white | 843 XKK |
| Ford Thames 800 Estate Car | red & white | - |
| Bentley 1928 | British racing green | YK 6871 |
| NSU Prinz IV | red | - |
| Humber Super Snipe Series V (1965) | blue/grey, red upholstery | DLA 714C |
| Lotus Elan S3 | glacier blue | SJH 499D |
| Humber Super Snipe Series V (1965) | blue/grey | FUB 363C |
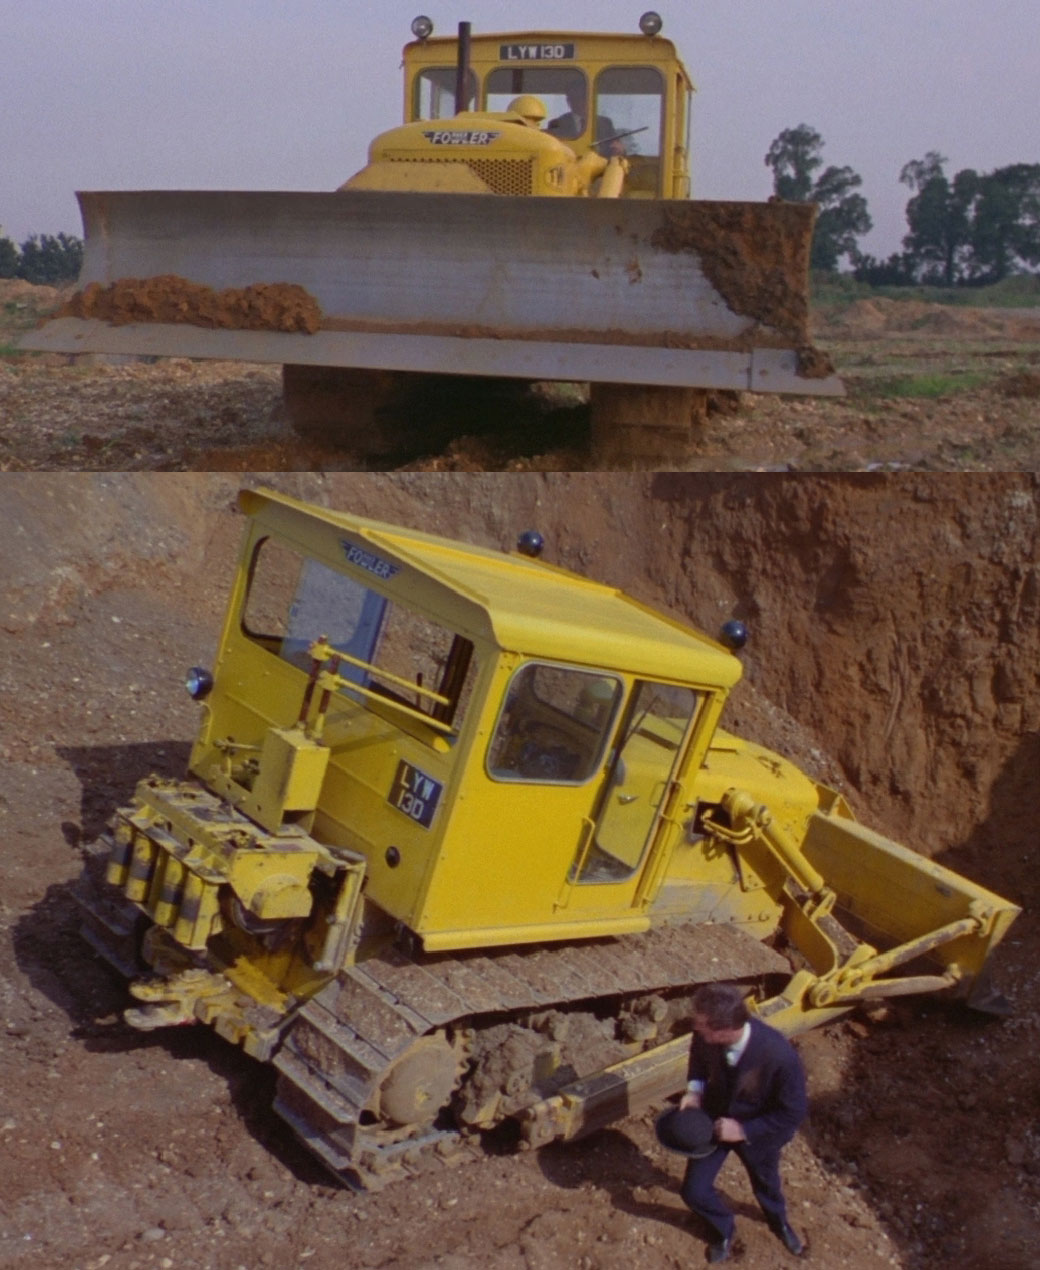
| Fowler Bulldozer | yellow | LYV 100 |
Who’s Killing Whom?
| Victim | Killer | Method | ||
|---|---|---|---|---|
| Williams?? | Gilbert V* | ? | ||
| Gordon White | Gilbert V* | Scared out a window | ||
| Gilbert V* | Steed & himself V* | Crushed by bulldozer during fight | ||
| Shocked! | ||||
| Richard Meadows | Gilbert V* | Left in the middle of Wembley Stadium in his pyjamas | ||
| John Tyler | Gilbert? V* | Left on a mountain top in his pyjamas | ||
| David Wallace | Gilbert? V* | Left on raft in English Channel in a dinner suit and cummerbund | ||
| Fox | Gilbert? V* | Mouse put into his shirt | ||
| Crawley | Gilbert V* | Passenger of speeding car | ||
| Jeremy Raven V* | Gilbert V* | Large spider | ||

The Fashions
Continuity and trivia
- Gordon Flemyng was not considered an Avengers director by the producers and may have been replaced during filming. Robert Day directed the tag scene with Alan Hume directing photography in place of Wilkie Cooper. It’s possible they did other scenes as well. Additionally, the call sheet for 18th October 1966 lists the supervising editor Peter Tanner as director for that day’s filming, most of which was exteriors.
- 6:00 — White and Crawley is (or was) a respectable firm of picture framers, picture restorers and museum providores - they’ve framed much of H.M. Queen Elizabeth II’s collection of renaissance drawings.
- 6:00 — Did anyone else notice that Gordon White has the same lamp in his office as Steed has in his apartment in other episodes?
- 7:54 — the close shot of Steed checking the unconscious chauffeur, Williams, shows him at the end of a long red brick porch, completely at odds with the previous shot where he’s in a small blonde brick garage.
- When Crawley’s chauffeur (the real Williams) is first seen lying unconscious or dead in the garage, he’s lying on his stomach with his arms at his side. However, in the close up when Steed examines him, he’s lying on his side and his arms are up!
- 8:07 — When Steed takes off in pursuit of Crawley’s Rolls, the Bentley is in a completely different location to the previous shot - even on a different street! - chain fence on one side, building site on the other, whereas previously it had been in a car park of an office building, opposite the yellow brick garage where Williams was lying unconscious.
- 15:30 — The close-ups of Steed are out of focus.
- 18:13 — The door of Raven’s automated potter pops back open when he tries to close it.
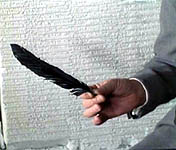
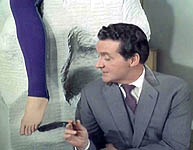
22:00–22:07 — The feather Emma picks up in the office after Gordon White is murdered is significantly different from that which she shows to Steed back at her apartment, and which he proceeds to tickles her feet with.In the office... ...at the home Anywhere! 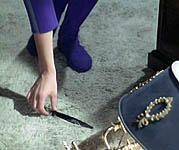
©1961–9 CANAL+IMAGE UK Ltd All Rights Reserved - 26:58 — The chart which Dr. Voss holds bears no relation to those taken while Raven was in the seat - the peaks are much larger.
- 27:45 — Steed has an answering machine/dictation device (it’s an Ansafone), new technology in 1967! Not to be left out, Emma has one in The Bird Who Knew Too Much.
- 34:33 — That was quite a long meeting Steed has with the BEB! - an 11am start, and he leaves at 3:35pm?
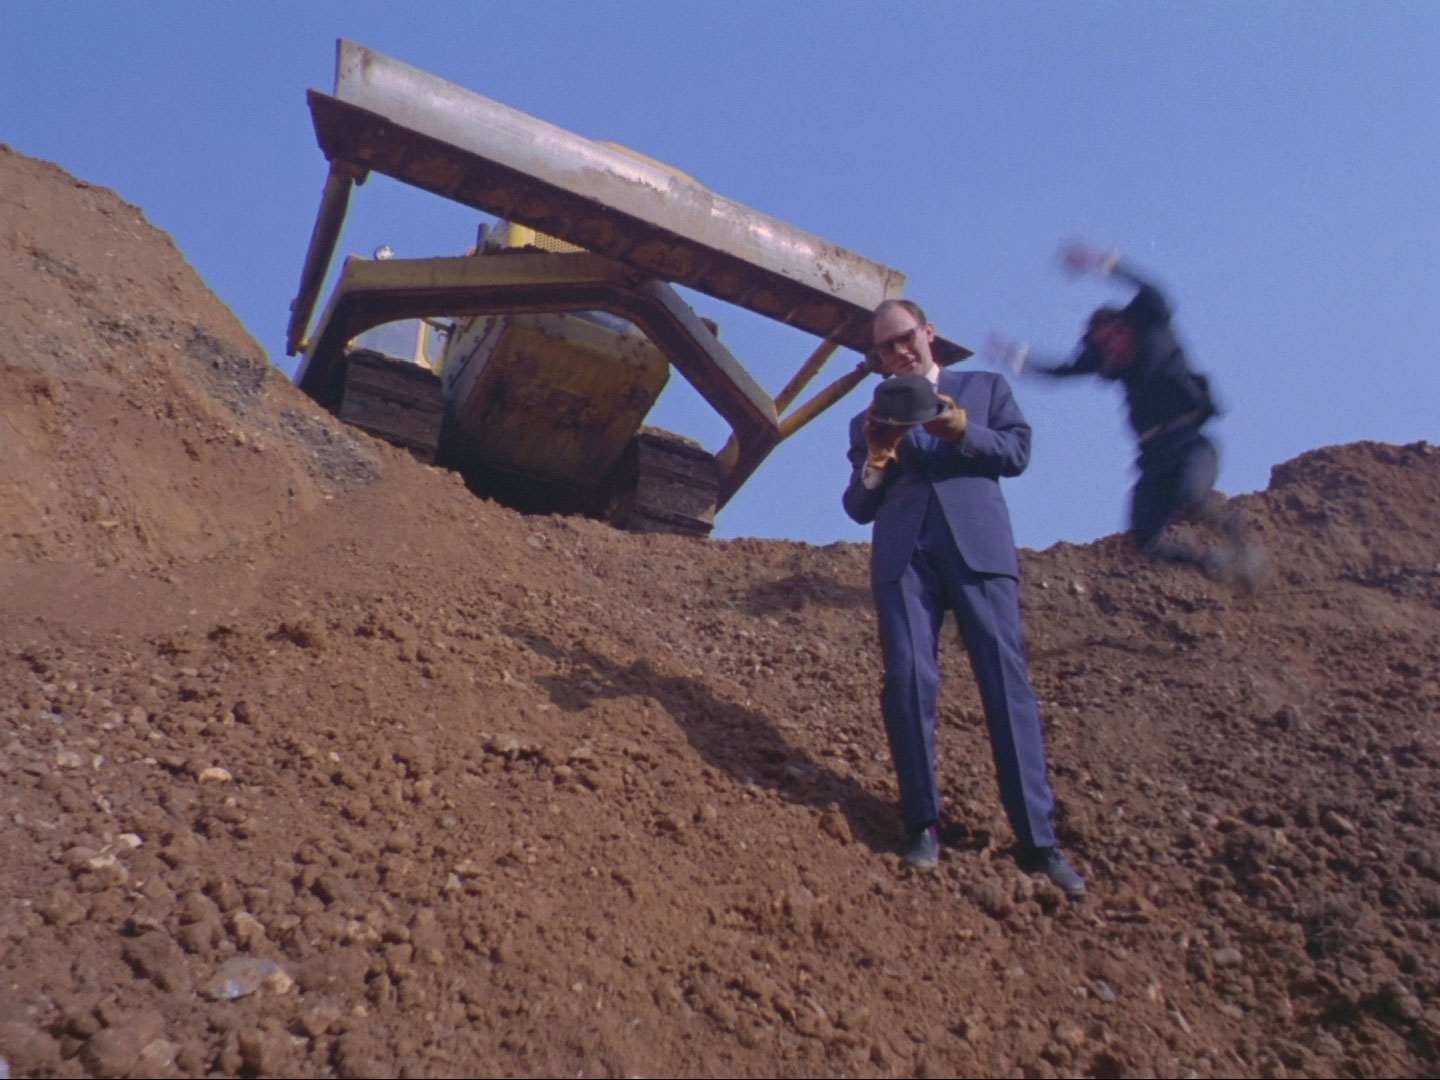
- 38:55 and throughout - the long shots of Steed in the quarry don’t look like Macnee. It’s fairly clear in the MS at 40:07 that it’s Rocky Taylor.
- 40:14 — Gilbert backs the bulldozer away from the edge of the pit and puts the brake on, but at 40:27 it’s perched right on the edge of the precipice, ready to plunge in and crush all beneath it.
- 40:33 — Steed is still buyoing his bowlers from Herbert Johnson & Son, as shown by the milliner’s mark inside the crown of the bowler.
- 41:25 — Rocky stands in for Garfield Morgan in the bulldozer crushing sequence as well.
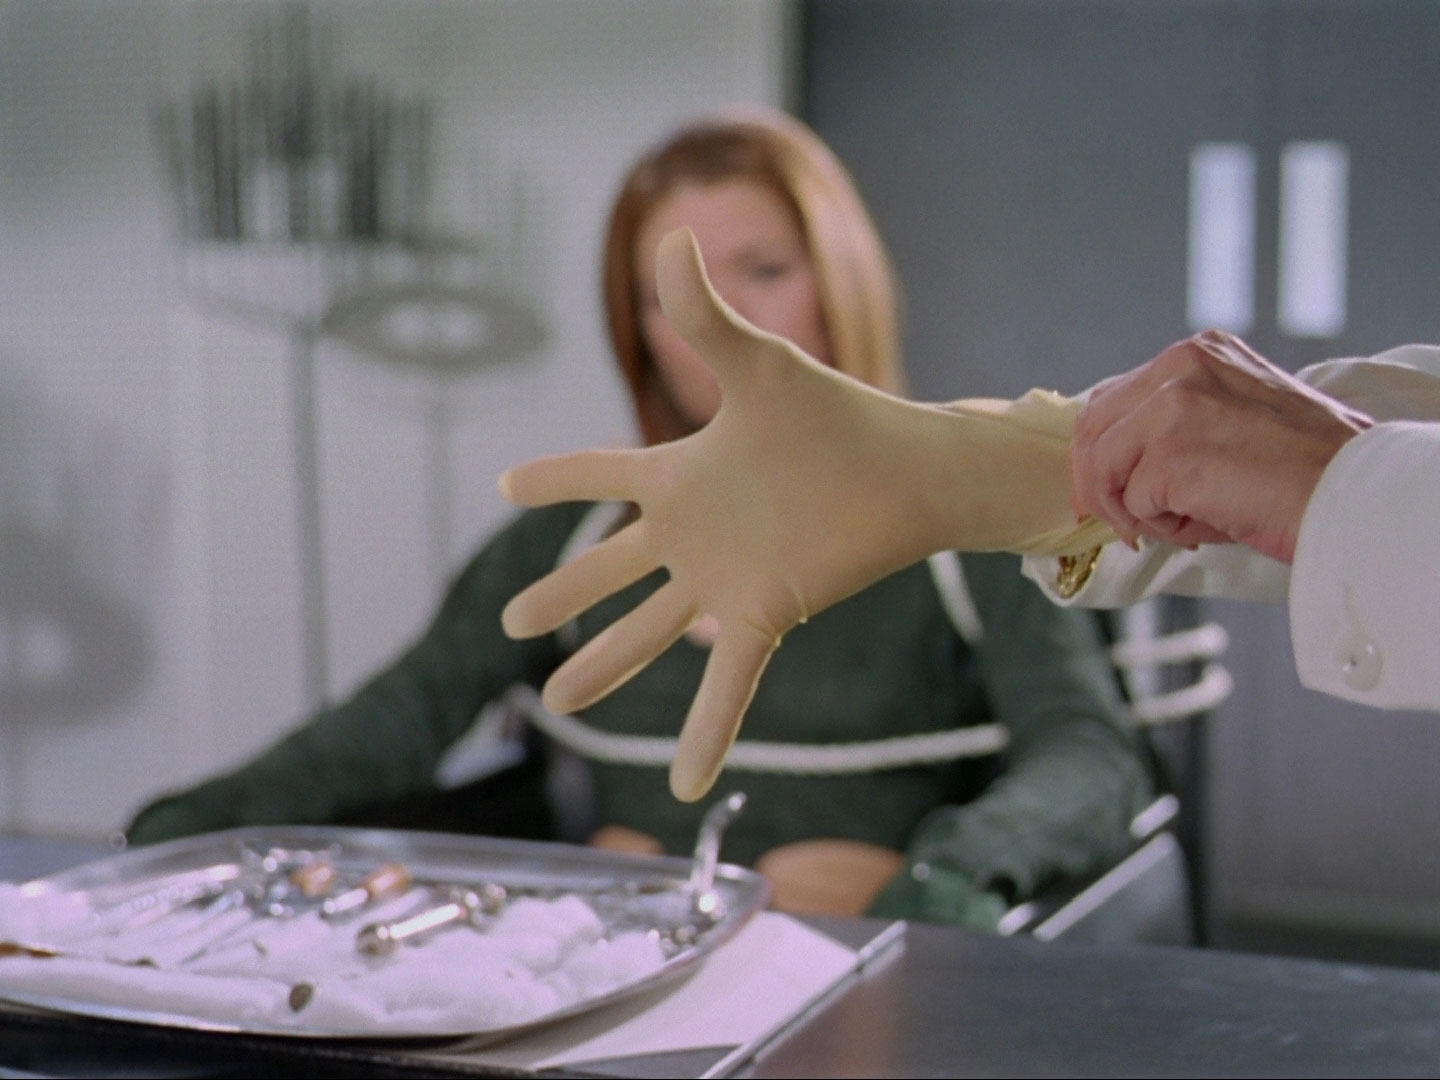
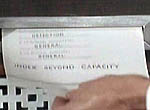
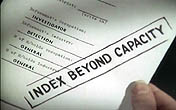
- 44:47 — When Dr. Voss takes Mrs. Peel’s results from the computer, the INDEX BEYOND CAPACITY notice is in a different place to where it is when Pemberton reads it.
- 46:40–47:13 — In the finale, Steed turns off the light, Pemberton yells for emergency lighting, the lights come on, Emma kicks away Pemberton’s gun, and Steed throws his umbrella at the lights, smashing one of them (you can see the glass break!) and knocking them both out of commission. Then, after the fight, Steed clicks the light switch and turns them back on!
- 47:09 — Dr. Voss fires a shot at Steed before Emma collides with her, but it still misses ... of course, she could just be a lousy shot.
- 47:18 — At the very end, Steed asks Emma if she was afraid he wouldn’t arrive in time, and she replies that the thought never entered her head. The lie detector, which is activated when the arm rests are pressed down, shows she’s lying. He then asks her “Never, Mrs. Peel?” Emma then sits up, taking her arms off the activator arm rests, and replies, “Never, Mr. Steed”... and the lie detector keeps working, registering the lie!
- 48:03 — The bird sculpture from The Girl From Auntie is decorating Mrs. Peel’s flat.
- Running time: 49′35″
Cast notes
- Annette Carell appeared (misbilled as Annette Carrell) as ‘B’ in episode “A, B and C” of The Prisoner.
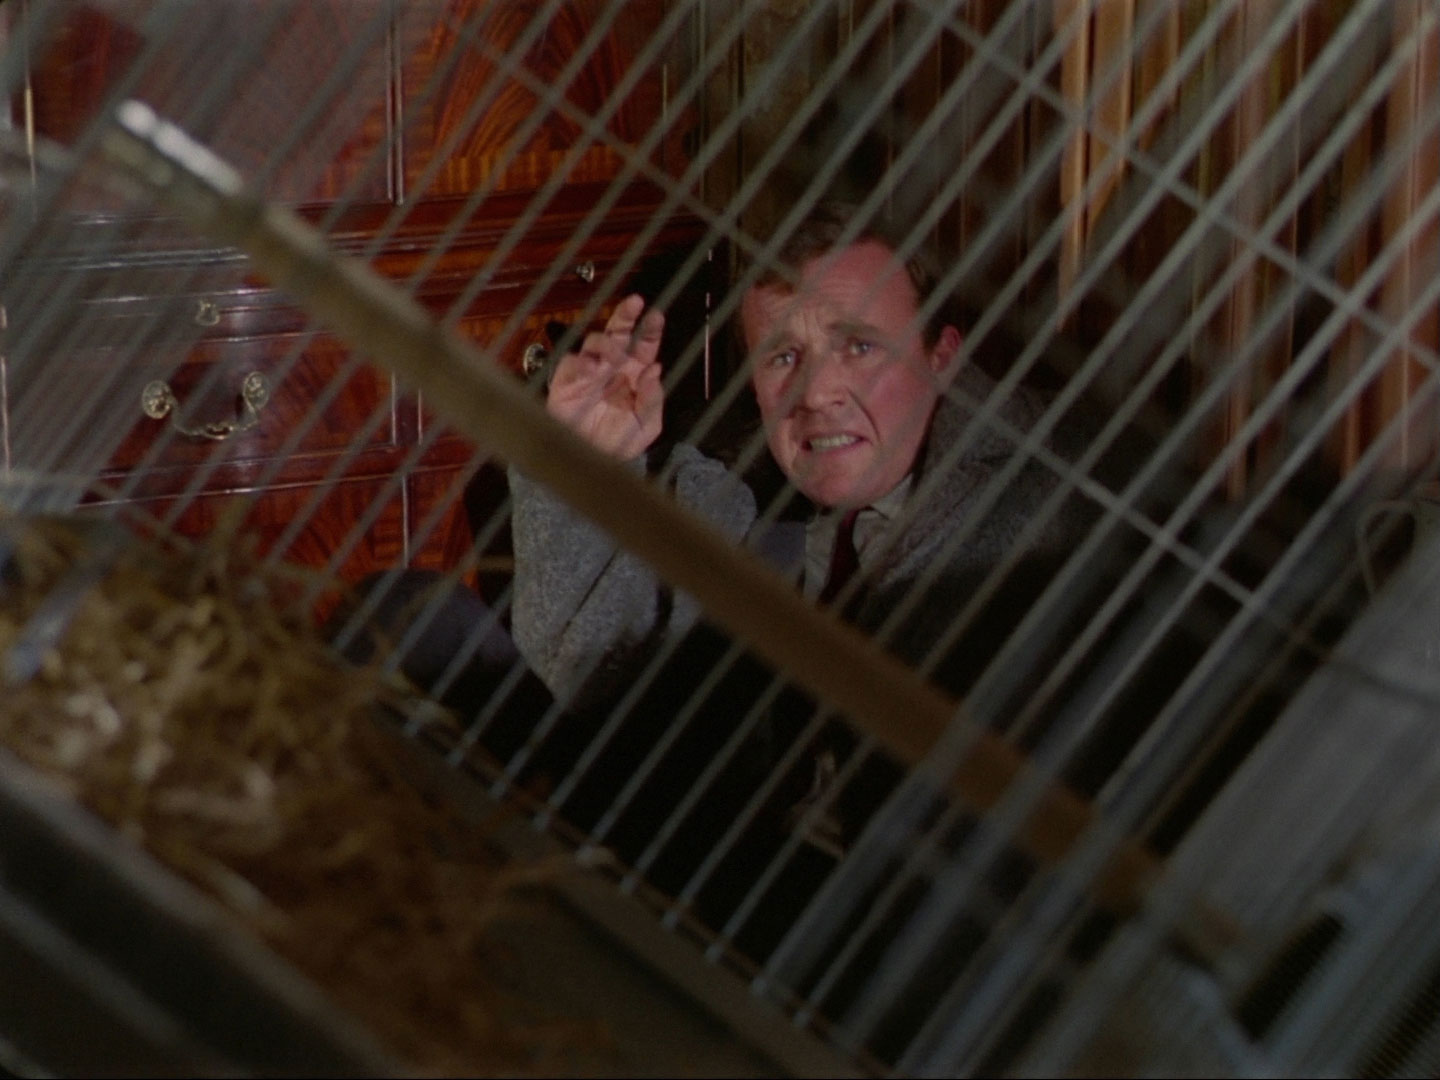
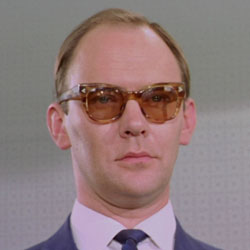
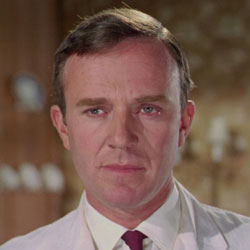
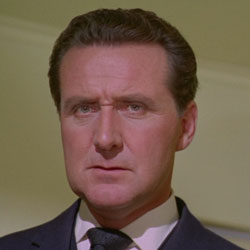
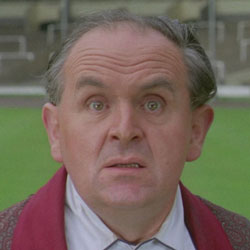
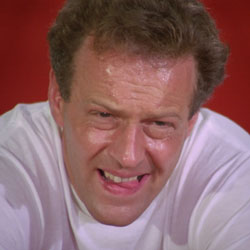
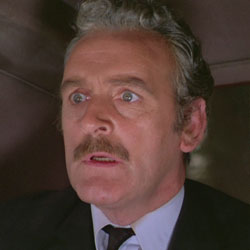
- Several actors get no credit in the cast list, can anyone identify them? Their mugshots are shown here. ADDENDUM - Alan Hayes has suggested that Patrick Macnee has a cameo appearance as John Tyler, disguised by a beard and a strategically placed chair.
John Tyler
David Wallace
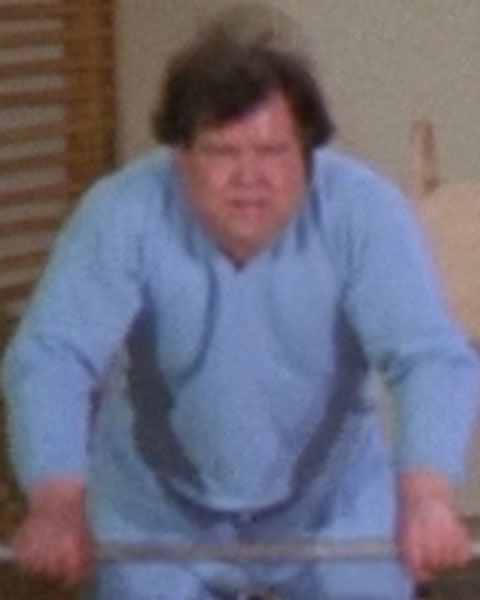
Williams - The comedy weight lifter is Declan Mulholland, but why he gets a credit when he doesn’t speak and is on screen for maybe two or three seconds is beyond me.

Where I have listed two sets of timecodes, the first is from the 2009–11 Optimum Releasing/Studio Canal DVD sets, any other timecodes are from the A&E and Contender DVD sets from a decade beforehand.
The new releases have been remastered and their frame rate has been changed, resulting in a shorter running time. However, the picture quality has increased markedly. I assume this is because they used a simple 2:2 pulldown (24 @ 25) when converting from the original film masters (film runs at 24 frames per second, while PAL runs at 25fps, the new DVDs are in PAL format).
This pulldown was also the cause of audio errors on many episodes, especially for Series 5, as the audio sped up to match the new rate (4% faster), rather than being properly pitch-shifted. Checking the dialogue sheets, which list the feet and frames of the reels, it looks like the speed change is around 5.04%, so there may be some cuts as well - probably from around the commercial breaks and ends of reels, as they amount to about 25 seconds. All my assumptions are based on the episodes having been filmed on standard 35mm film, which has 16 frames per foot and runs at 24 frames per second, so a minute of footage uses 90 feet of film (1,440 frames).
These audio errors have been corrected in the currently available DVDs, but the 2:2 pulldown remains. There is also the addition of a Studio Canal lead-in, converted to black and white to match the episode for Series Four, but colour for Series Five, adding an extra 18 or 19 seconds to the runnning time and making it harder to match timecodes with previous releases. It’s annoying that it has been slapped on every single episode, Series 1–3 didn’t suffer this indignity.
The previous Contender and A&E DVD releases didn’t seem to suffer from these problems, so I assume they either used soft telecine and preserved the original 24fps rate of the film (my preferred option in DVDs) or they used 24 @ 25 pulldown (2:2:2:2:2:2:2:2:2:2:2:3 Euro pull-down).
Thankfully, the new blu ray releases for series 4–6 appear to use native 24fps with soft telecine so the running times and pitch all seem to be correct again along with a much grreatly improved picture quality, most notably in the Tara King episodes which are finally back to their original glory.