Series 6 — Episode 21
Take Me to Your Leader
Teleplay by Terry Nation
Directed by Robert Fuest
Production No E.67.9.22
Production completed: November 29 1968. First UK transmission: February 28 1969. First transmission (USA): February 10 1969.
TV Times summaryJohn Steed and Tara King face one of their toughest “cases” when Mother is suspected of defecting to the enemy.
Plot summary
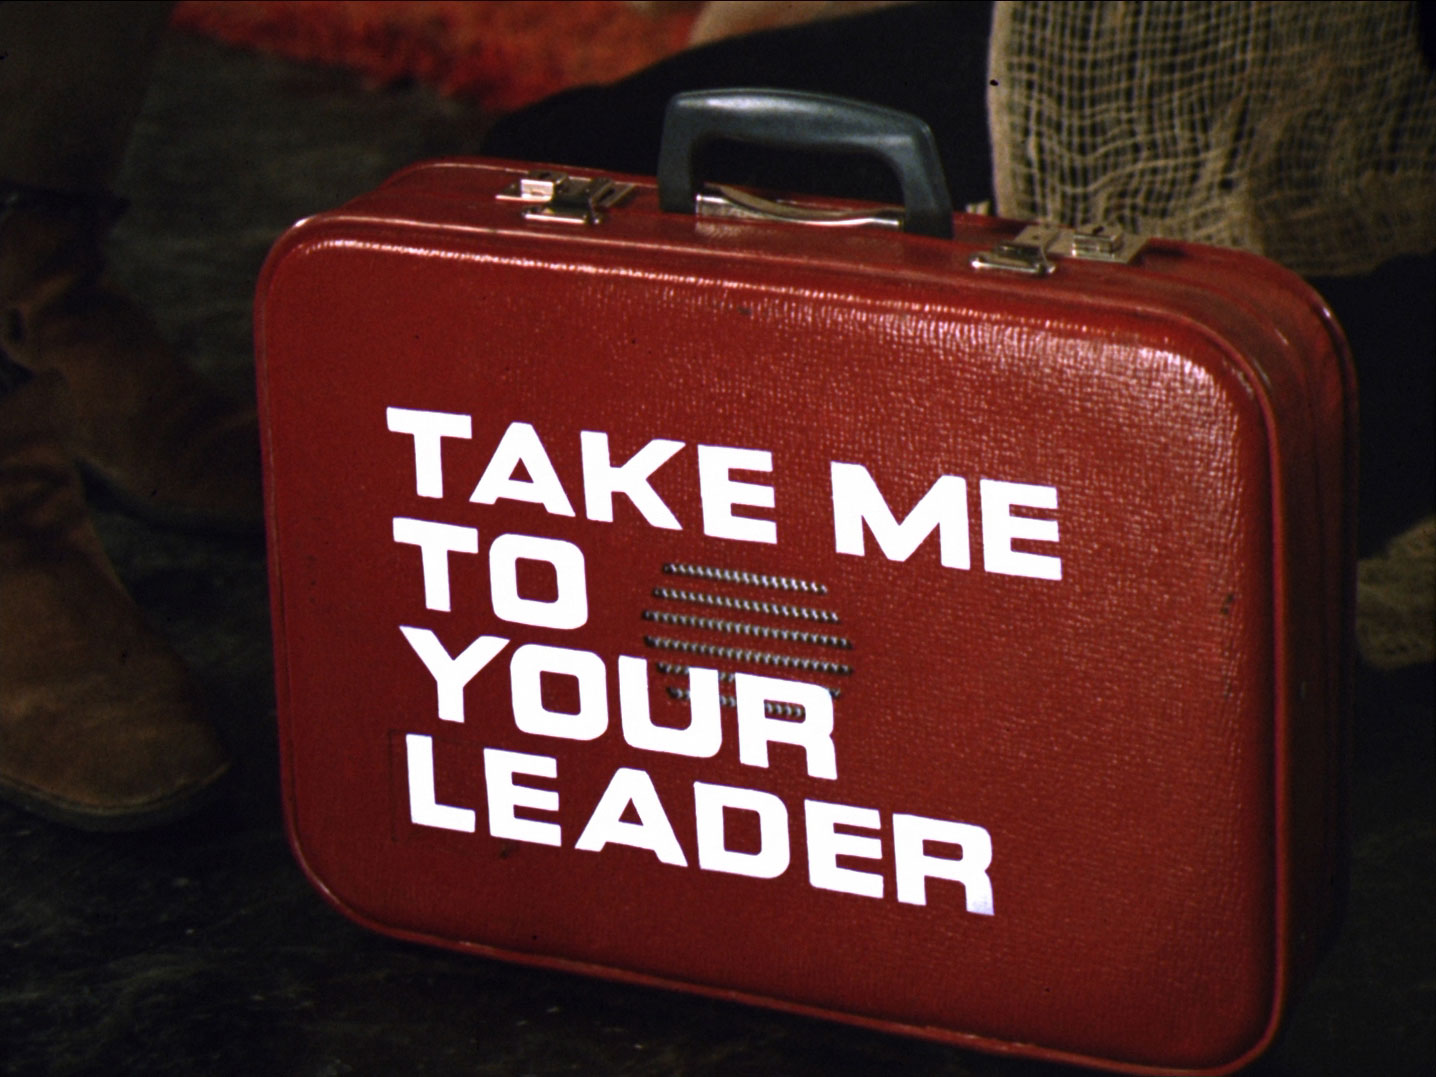
Ministry agent Holland breaks into Shepherd’s apartment and attempts to steal a suitcase, but is killed by Shepherd when the case shouts “Stop Thief!”
The Ministry are on the trail of a traitor who uses a courier network using mechanised and booby-trapped suitcases. They must follow it down the line until they snare him, but keeping up with a shouting, deceiving, poison-gas expelling suitcase is harder than you’d think. Steed is amazed when the last agent leaves the case for Mother - someone is trying to frame him - the rival departmental boss, Colonel Stonehouse.
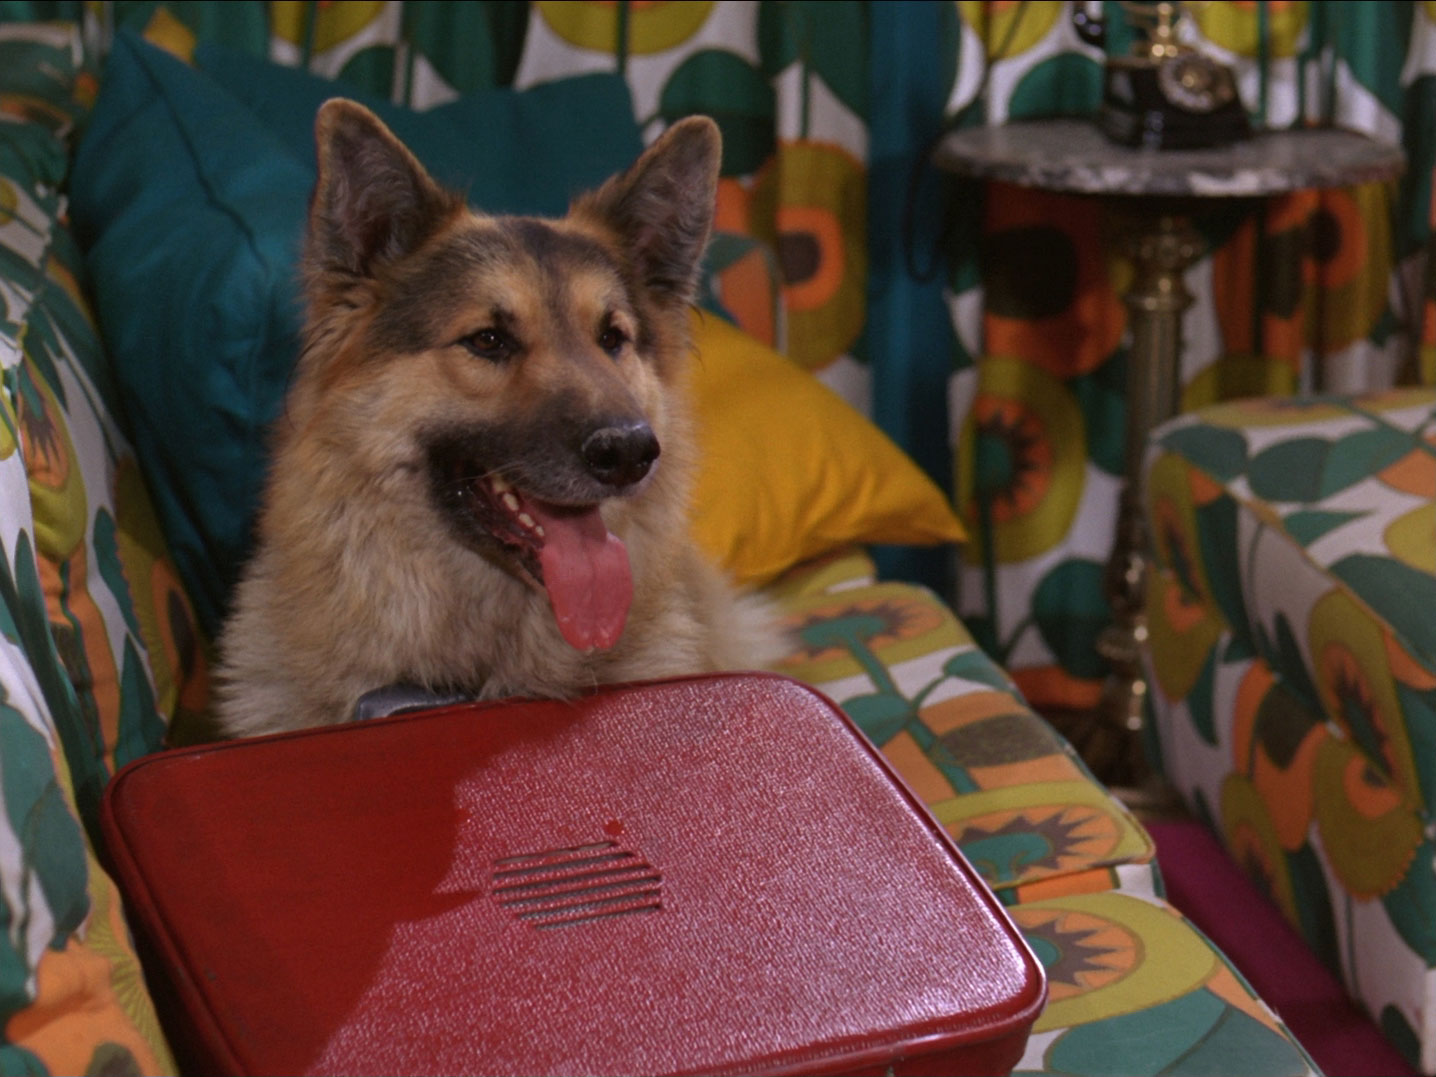
Steed delivers a message to Tara by way of a talking suitcase delivered by a dog; but she’s not there and the suitcase she left tells his suitcase that she’s not handling this one.
Ministry agent Holland (Matthew Long) breaks into Shepherd’s apartment and attempts to steal a red attache case, but when he picks it up the speaker on the side of it starts shouting, “Stop, thief!” Shepherd (Michael Hawkins) enters and challenges Holland with a clarinet which contains a sword. Holland is killed and Shepherd resets the suitcase to prevent it from self-destructing.
Mother (Patrick Newell) is being trundled about by Rhonda (Rhonda Parker), dictating a report to Grandma regarding enemy transmissions. He reports that the case is at its first delivery point, under surveillance by Tara and Captain Andrews - At a small regional airport, Tara King (Linda Thorson) sneaks across to a large packing crate which is in fact the surveillance post. Inside, Captain Andrews (Hugh Cross) is watching a motorcyclist, Howard Trent (Cliff Diggins), through his binoculars. He has the area staked out and surrounded - they intend to follow the case through the chain of contacts to the man at the top. A blip appears on the radar approaching from the northwest but no-one can see it. Suddenly, they spot a dog carrying the case. Trent takes the case from the dog which then attacks a nearby scarecrow - agent Philipson’s camouflage. Trent speeds off and Andrews orders he be stopped. The assembled agents converge on Trent’s bike and, backtracking, he crashes into Andrews’ car which has emerged from the crate.
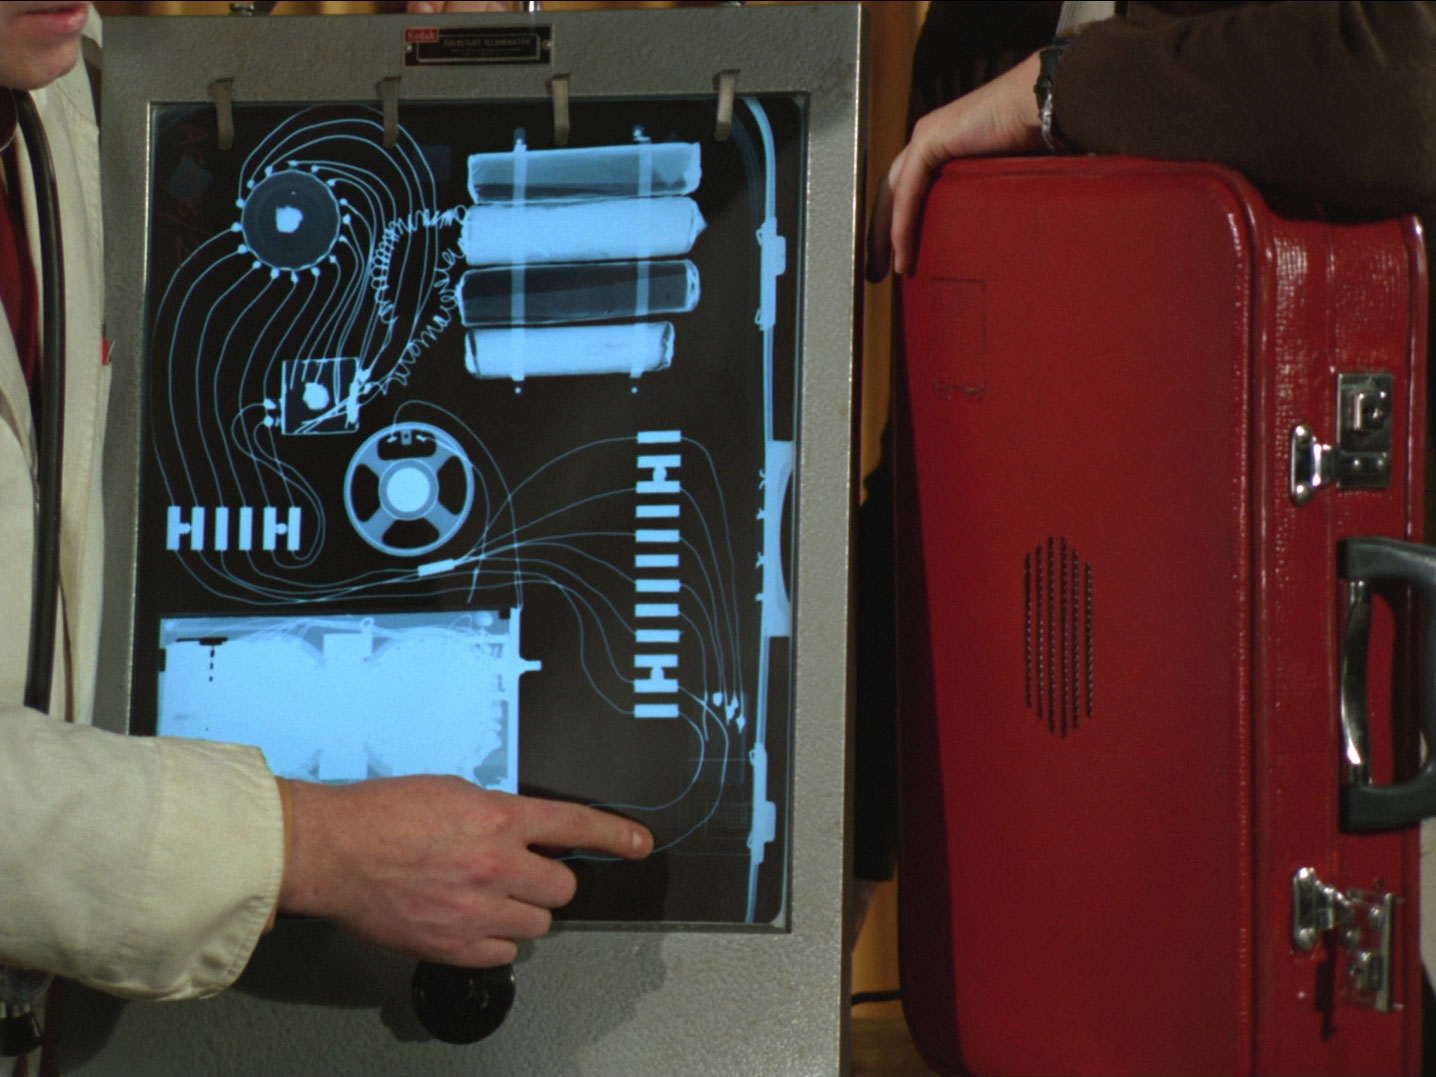
Major Glasgow (Henry Stamper) examines an x-ray of the case and explains its security features - each key turns the lock only a few degrees, and an explosive charge prevents breaking it open. A tape recorder inside plays back different messages. The Ministry doctor (Sheila Hammond) appears and says Trent is conscious. He tells Tara his contact instructions are “all in the case” and Tara discovers one of the studs of his leather jacket is the key. They try it in the lock and the next contact is announced - a room booked for Richard Strauss at the Cremorne Hotel. John Steed (Patrick Macnee) saunters in and Mother jovially introduces him to everyone as Richard Strauss.
Steed and Tara drive over and Steed enters the hotel alone, with the case. The case announces his contact will arrive in the next three hours and he is to place it out of sight in the wardrobe. Tara sees Condon (Raymond Adamson) arrive and check a pistol before entering the hotel. Steed pours himself a drink but when he looks back the case is gone and he discovers a door in the back of the wardrobe. He gives chase, but Condon has already driven off. Fortunately, Tara has stowed away in the back seat and coshes him after he turns the key to announce his contact. Steed once again enters the contact point and finds it’s a dance class for small girls, run by Audrey Long (Penelope Keith). He asks for Miss Graham and discovers it’s one of the girls, Sally (Elisabeth Robillard). Sally takes the case politely and leaves without a word, leaving Steed perplexed. She re-emerges a moment later without it and he offers her a bribe of lollipops to learn its whereabouts. She confesses she’s susceptible to bribes but insists they talk money - he offers 10s. and she counters with £25, “You wouldn’t take advantage of a little girl, would you?” Audrey clobbers him and Sally bemoans the loss of the bribe and that they’re not going to weight him with cement and throw him in the river. Audrey goes to the door and is confronted by Tara, who prevails after a balletic fight. Steed and Tara face Sally and pay her the £25 for her to reveal the location of the key - it’s her fairy wand, and they learn the next contact point.
Mother is visited by rival departmental head, Colonel Stonehouse (Patrick Barr), who tells him Mother is rumoured to be the number one suspect. Mother admonishes him for not subscribing to the theory as he makes a very good suspect. He reminds Stonehouse that he makes a good number two suspect, and Steed is unaware that part of his task is to clear them both; he’s concentrating on not losing sight of the case. In a telephone box, the case squawks the contact has seen Tara, she is to go to a place of safety to effect the transfer. She indicates the car that has started following her as she passes Steed’s Rolls and he pursues the pursuer. Tara returns home and it’s not long before Cavell (Michael Robbins) enters. He grabs her from behind and she shakes him off easily. Vanquished, he becomes sleazy and suggests a rendezvous later that evening. She offers to come with him but he states the location of his key and his destination are top secret. He tells her to slip into something tight and leaves, pausing on the landing to take his key from under his toupé. The case gives him his contact then orders him to kill his last contact. He re-enters and tells Tara he’s really sorry, then draws a gun. He orders her to turn around - “I can’t look at the eyes when I do it” - and is about to execute her when Steed enters. Steed shoots his gun hand and orders Cavell against the wall. He’s brusque with Tara as well, treating her as a suspect. He tells Cavell as he cuffs him Security has been watching “the woman” for some time and picking him up is a bonus. He goes to tie up Tara and whispers, “Jump me”, in her ear. She does so and he evades her, then reties her. He orders her to stand next to Cavell while he searches the flat. Once there, she gets Cavell to loosen her bonds and convinces him to reveal the next contact location. When he tells her, she announces it to Steed and they leave together, leaving Cavell musing that he likes her style.
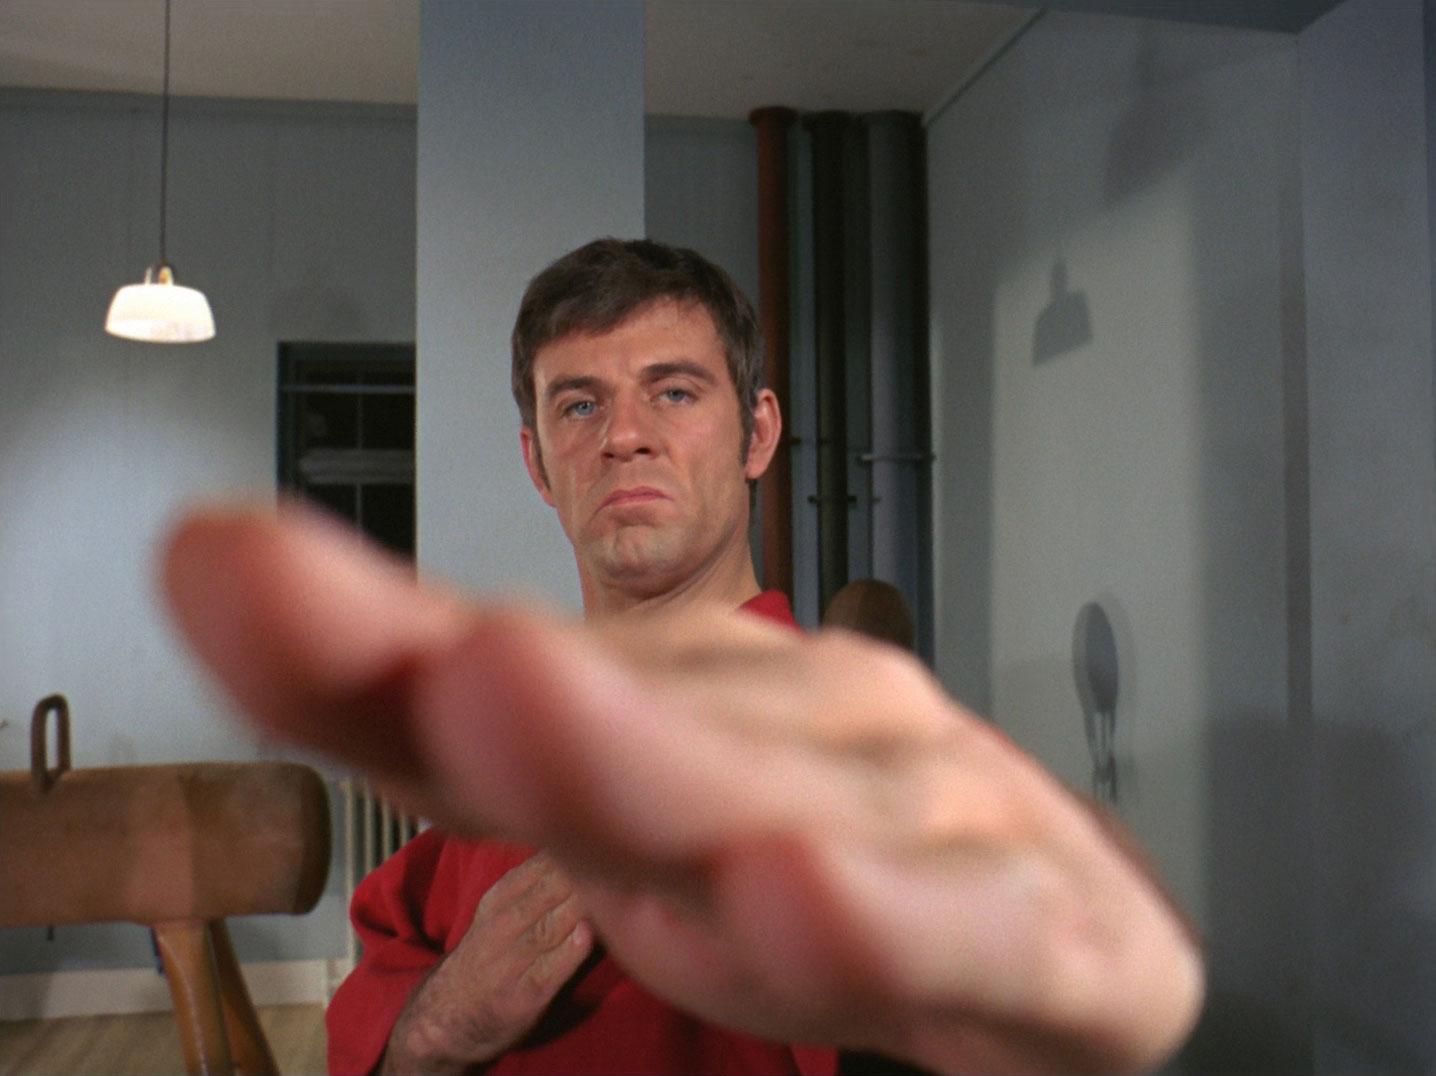
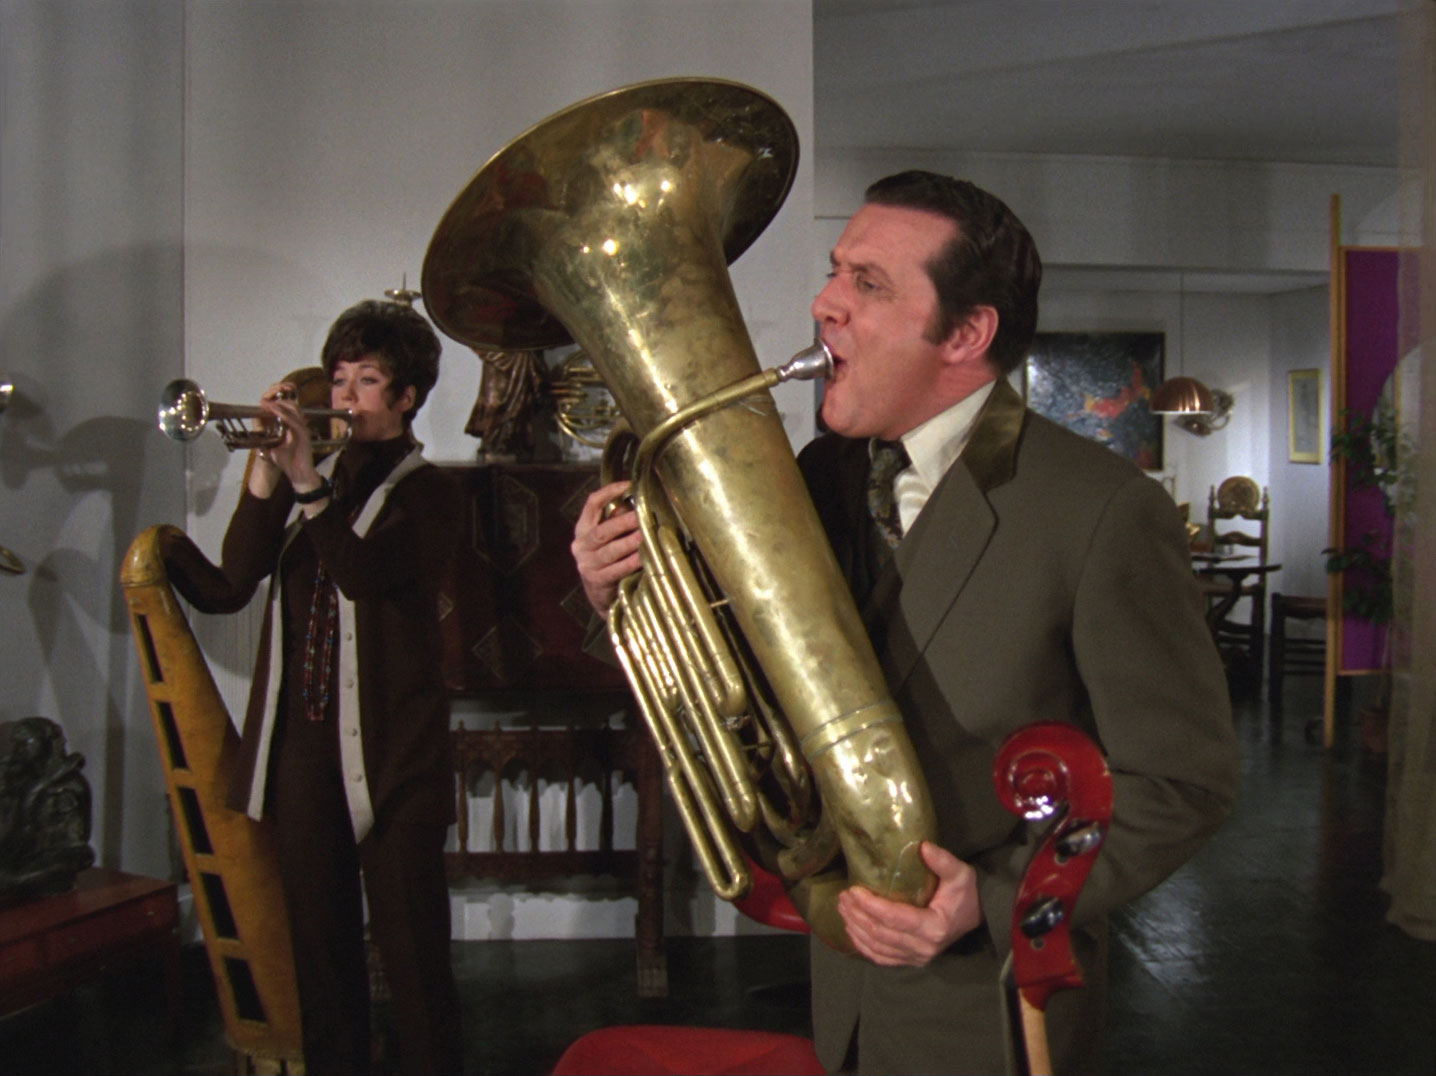
Mother re-examines the x-rays and notices something inside the case has shifted so Glasgow sends the prints to forensics to see if they can identify the contents. Steed and Tara arrive at their destination and see a man defeat four opponents in karate. Steed whispers he can’t go in there; Tara is astonished at this show of cowardice so Steed explains he knows the man, it’s Captain Tim (John Ronane). Tara enters and is somewhat distressed to learn Tim expects his contact to be the only person in the world who can beat him. She defeats him, courtesy of a throw through a window and a blow from Steed’s steel-reinforced bowler. Tim has broken his leg and hands her his key to continue the chain. Their next contact is Shepherd who sees the case when he returns home and picks up a coronet. He then spots Steed and puts it down. Steed asks for the key and Shepherd, brandishing his clarinet-sword tells him you just have to play the right notes. Shepherd is impaled on the spike of a cello as they fight and Steed and Tara are left trying to play the right notes. Tara absently strums a harp and the lock clicks round and the next contact is announced. Glasgow reports that the case contains £500,000 — it’s probably the final payoff and the last time the case will be used - Stonehouse smiles grimly as he declares they may never catch Mr. Big.
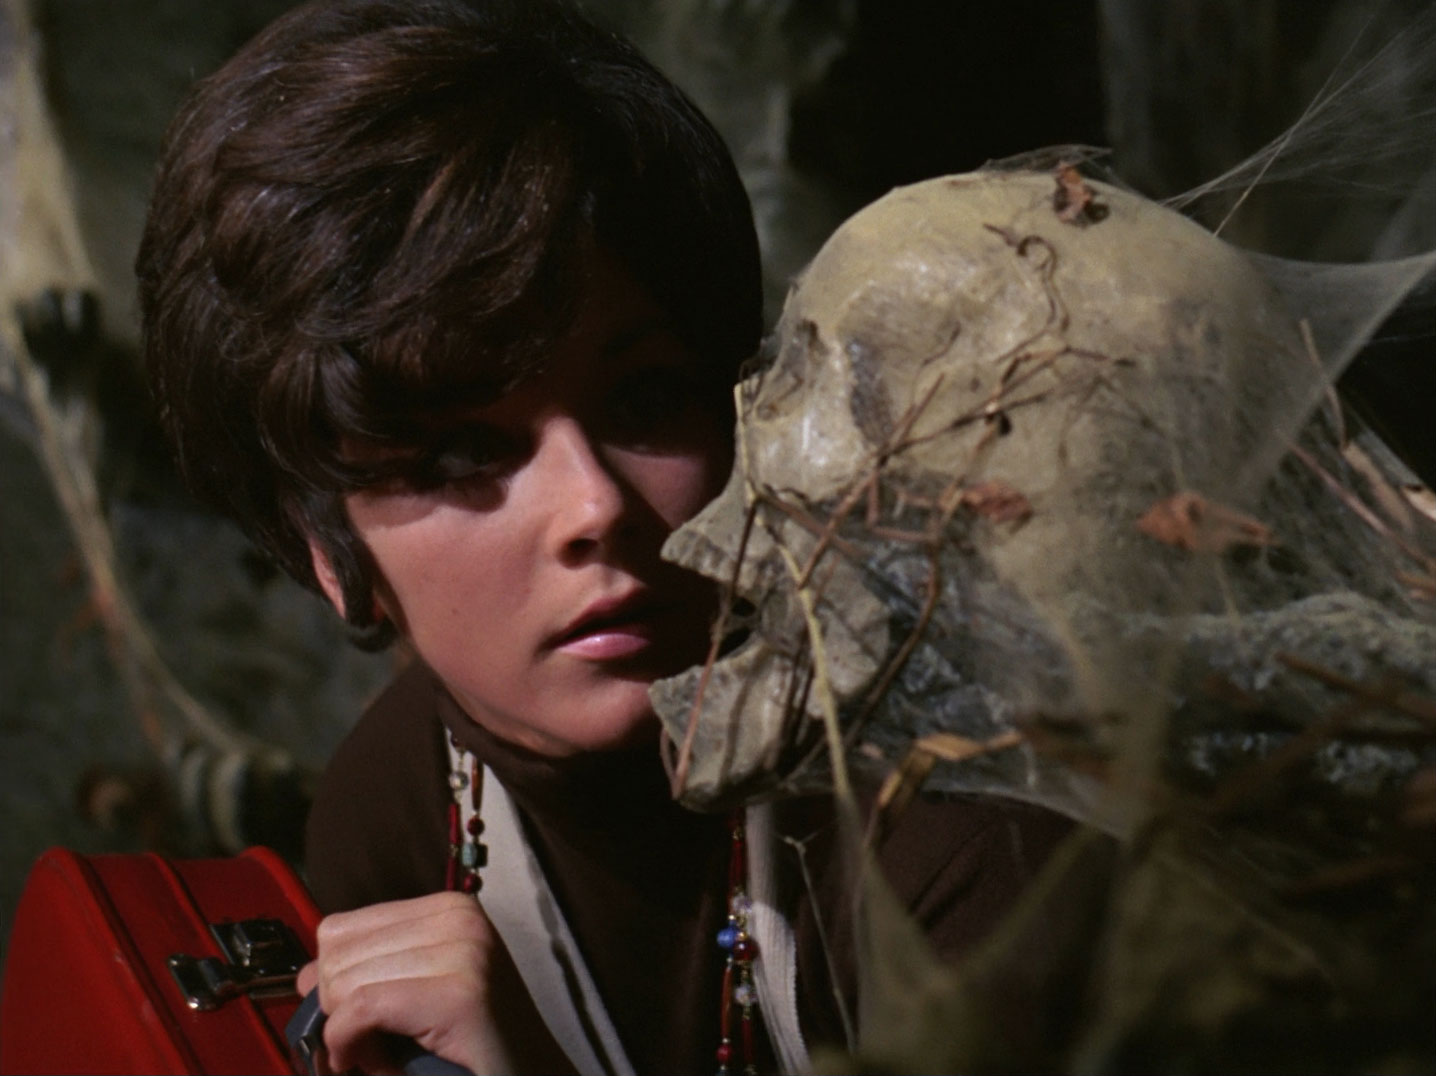
Steed and Tara watch the case carried into the station from the luggage bay and are startled when two men emerge carrying red cases. Steed follows Williams (Terry Richards) while Tara trails Jackson (Rupert Evans), who uses his key and is told to go to the Cunningham family crypt at St Bartholomew’s. Tara knocks him out and makes off for the church. The door slams shut behind her as she enters and the case informs her she’s a decoy. In the interests of security, she must die - the case will expel poison gas, but also contains caviar and champagne to make her last moments more enjoyable. Looking around, Tara grimly notes two other couriers have previously suffered this fate. Tara grabs one of the other cases and deliberately spins the reset knob, forcing it into destruct mode. She places it against the door and takes cover before it explodes. Steed meanwhile tracks his man to a warehouse where he attacks him after he deposits the case. The courier is dispatched and the tumbling packing crates reveal - Mother and Rhonda!
Tara steals the vicar’s car, handing him a bottle of champagne in return, while Steed tells Mother, “despite your foibles, you’re above suspicion” - it’s a good thing he was involved. they deduce a higher authority will take the case “into custody” once Mother is relieved of his duties. Glasgow arrives and wishes to conduct more tests on the case, followed swiftly by Stonehouse, who suggests his bomb-disposal chaps open the case. The case pipes up that collection is overdue and it will self-destruct in fifteen seconds. Stonehouse produces a revolver and grabs the case - Steed reveals it was a false recording and apologises for suspecting Glasgow. Stonehouse rushes out and clubs Tara with his revolver. He dumps his case in the back seat and gets in. Reaching round, he grabs the unopened case Tara had taken from the crypt and opens it, flooding the car with poison gas.
Steed delivers a message to Tara, by way of a talking suitcase delivered by a dog; he hasn’t room for Fang the Wonderdog, who is to spend his holidays at Tara’s. Tara’s suitcase replies she suspects him of trying to make her adopt Fang, but she’s spending the weekend with her aunt. The suitcases continue talking at cross purposes while the dog runs up the stairs to let its friends in.
| Produced: | 29/11/1968 |
|---|---|
| Broadcast: | |
| London: | 5/03/1969 |
| Midlands: | 15/06/1969 |
| Sydney: | 11/04/1969 |
| Melbourne: | 1/04/1969 |
| New York: | 10/02/1969 |