
Series 4 — Episode 23
The House That Jack Built
by Brian Clemens
Directed by Don Leaver
Production No E.64.10.23
Production completed: January 18 1966. First transmission: March 1 1966.
TV Times summaryIn which Steed takes a wrong turning — and Emma holds the key to all …
Plot summary
Emma Peel is bequeathed a country house by an uncle she never heard of, but when Steed discovers the uncle didn’t exist he sets off to find her before it’s too late.
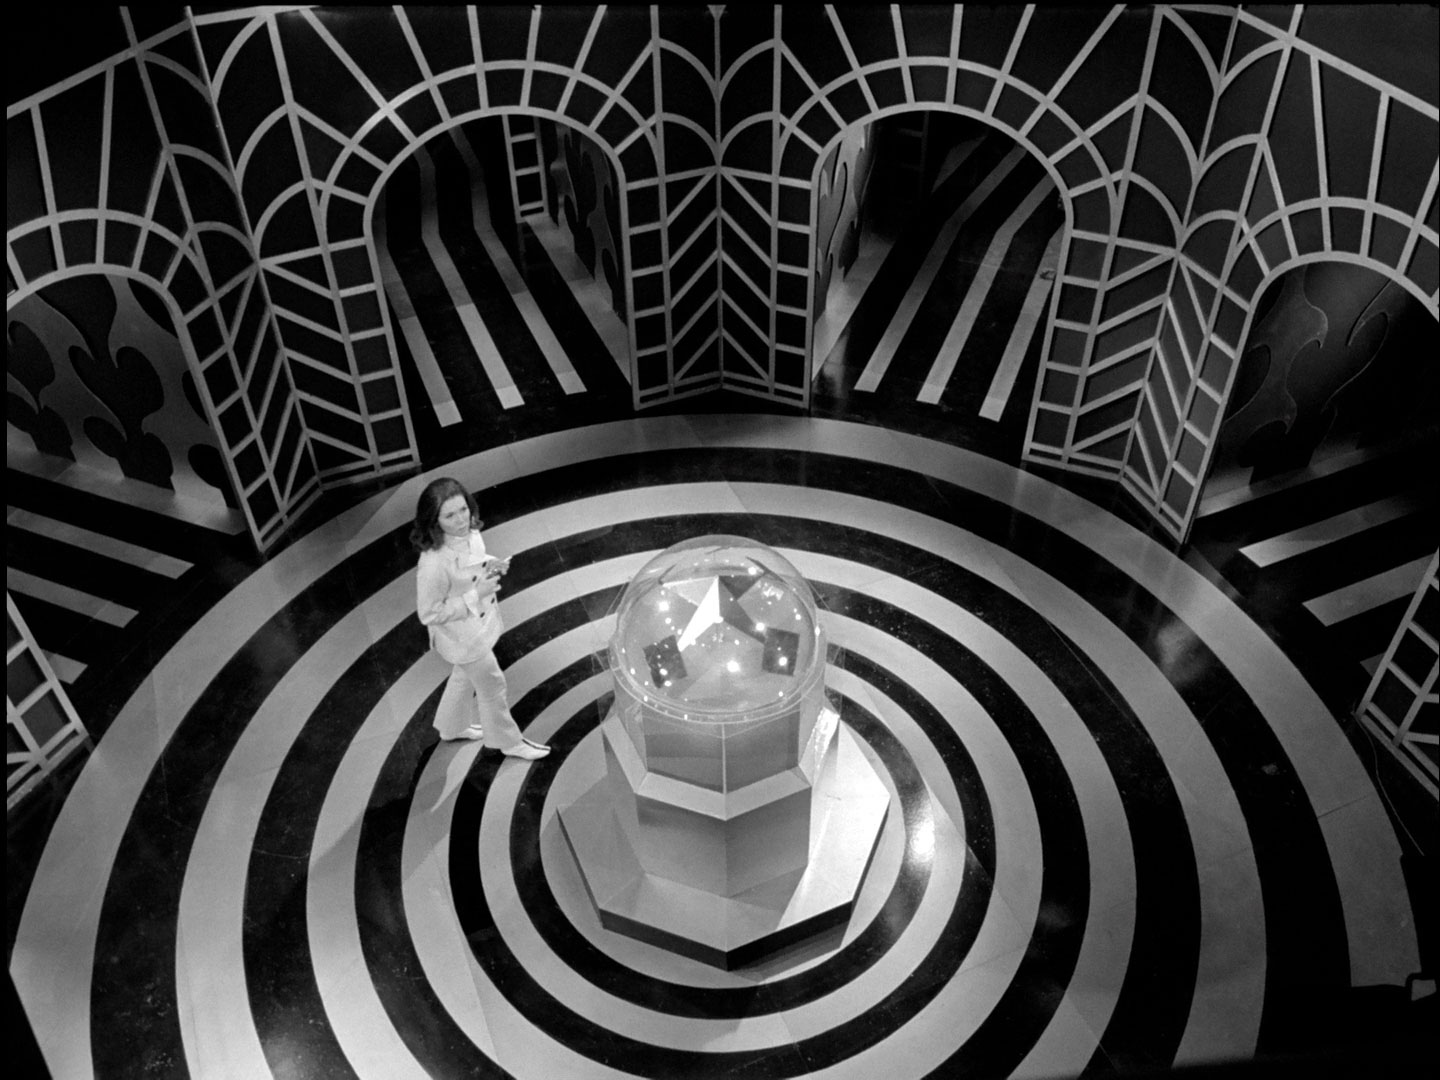
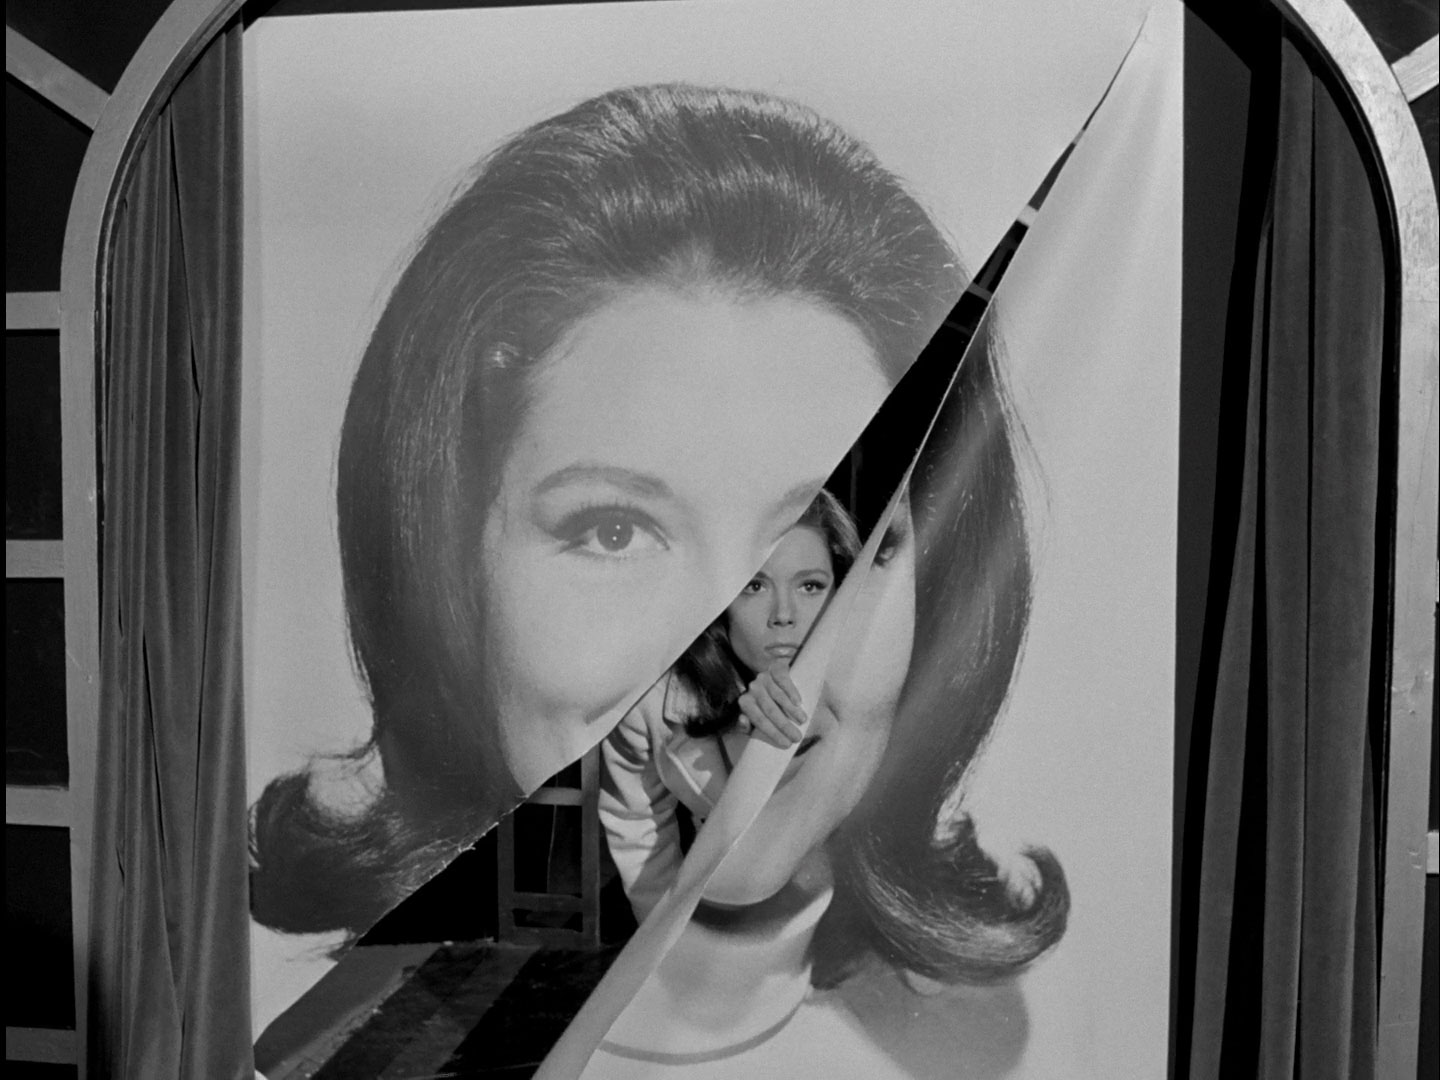
It might already be too late, as she trips a hidden switch and the house is turned into a maze of twisty, turny passages, all alike - all leading to a humming electric hub. Being a seasoned adventurer, she marks the strange machine with lipstick and tries a different passage, but finds it does indeed lead back to the same place.
After a while the passages shift again and a staircase appears in place of the hub and ghostly laughter fills the air. Perhaps a voice whispers “Plugh” ...
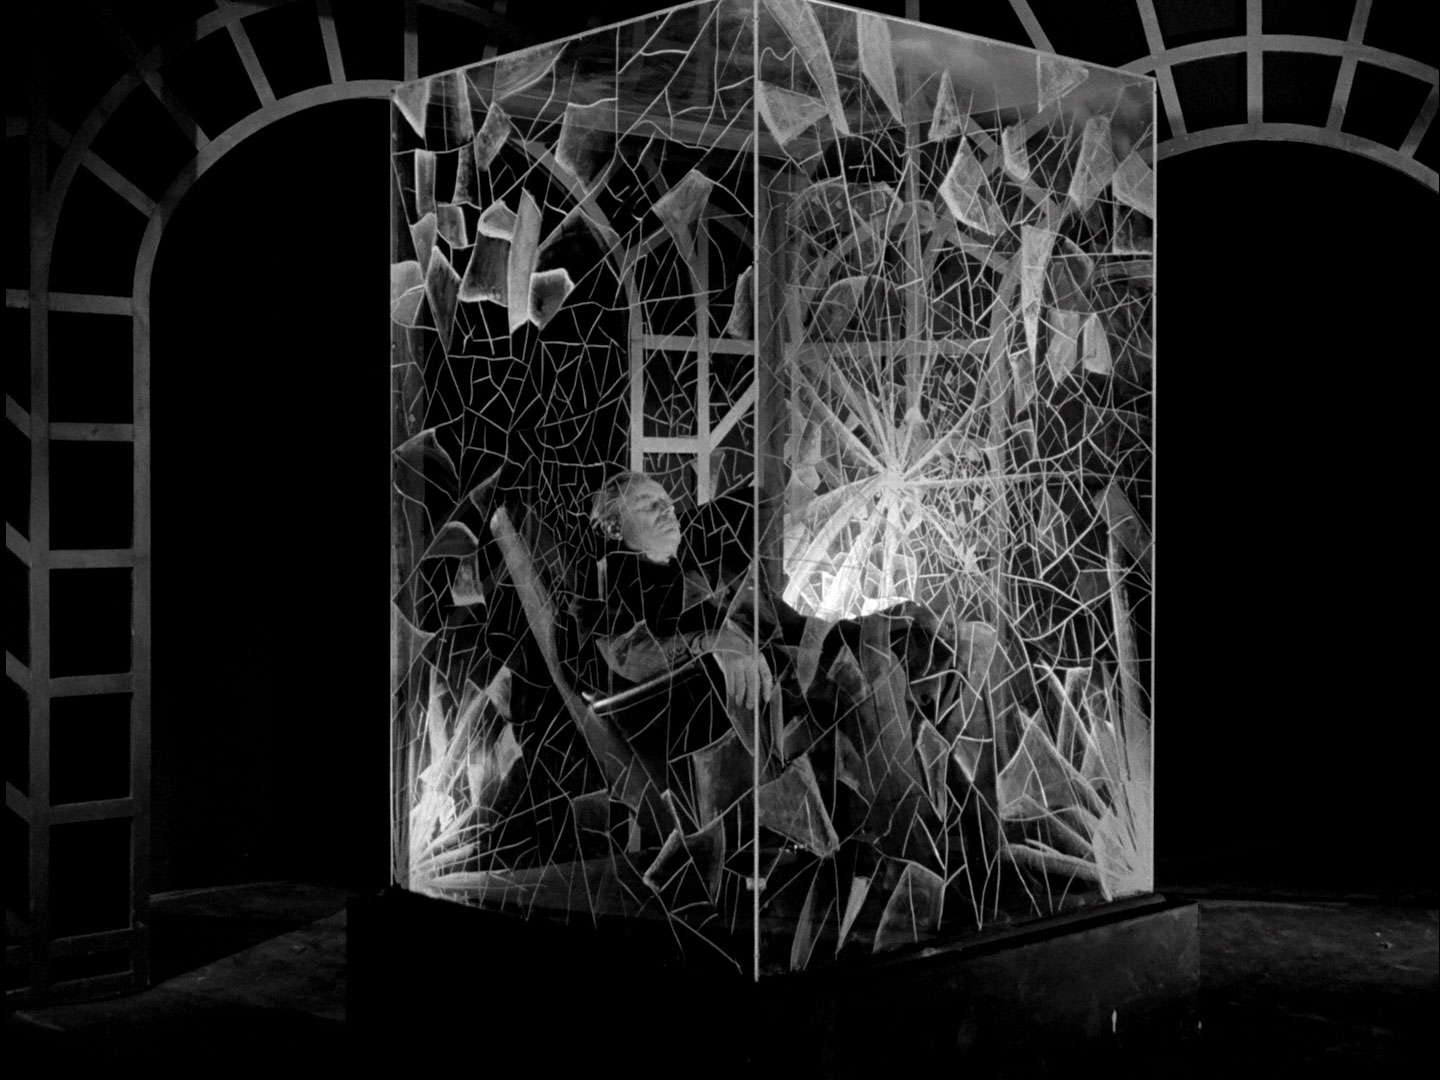
Down the stairs, she finds a grim memorial to her own life, a suicide chamber, and the preserved corpse of an automation expert she once sacked from her own company. The house is his terrible revenge on her but the plan fails when an escape prisoner accidentally steps into the suicide chamber and the house, thinking its work done, releases her.
Burton (Griffith Davies) escapes from prison and evades the pursuing wardens, making off with one of their shotguns. Climbing over a wall, he finds a deserted country house and enters, only to be confronted by a charging lion...
Emma Peel (Diana Rigg) visits John Steed (Patrick Macnee), who is developing holiday snaps. She tells him an uncle she’s never hears of has bequeathed her a house in Hampshire, waving the key. She makes him a cup of coffee, but fails to notice the key, left on the photo paper, make the timer move - nor does she notice that it affects the compass in her car. Steed discovers the key imprint as a white ghost on his prints when developed and contacts Emma’s family solicitor, Mr. Pennington (Keith Pyott). Pennington tells him she never had an Uncle Jack and he didn’t write her a letter. Steed quickly calls Pongo, and advises him Mrs. Peel is heading for Hampshire in possession of a key with electronic properties.
Mrs. Peel meanwhile is roaring down the B31, watched by a scout leader, Pongo Withers (Michael Wynne). The scout leader charges down the hill and stands in the road, hand held out. She screeches to a halt and berates him for endangering both their lives and he merely asks for a lift in return, “as far as you are going”. He eyes the key hanging from the dash when he gets in...
He tells her his name is Frederick Withers as they travel along, neither of them aware the key is activating sensors which change the road signs and close the road behind them. She drops Withers at the gatehouse when she arrives - it’s the same house the prisoner escaped to. She enters the house and her car radio, free of the interference of the key, springs to life. She hears a noise and enters room, discovering, to her concern, an open music box. Meanwhile, Withers approaches the front door and enters... Emma discovers a sheet of Pennington’s stationery, covered in attempts at copying his signature. She realises she’s been tricked, then the phone rings. When she jiggles the receiver, the door slams shut and she hears Withers scream outside. When she opens it again, the halls is gone, replaced with a maze of twisty, turny passages, all alike, with a humming electronic box at their hub - and ghostly laughter fills the room. No matter which corridor she takes, she ends up back at the hub. Sensing a trick, she marks the hub with her lipstick, but at the end of the next corridor, the hub is the one she marked. She discovers a boy scout badge, and then Withers’ walking staff and thinks he’s behind the deception. Another corridor ends, but this time with a frosted glass window. She smashes the glass hopefully but finds herself staring at the hub again. She runs back, bewildered and discovers a spiral staircase in place of the hub she had come from. Once again, the ghostly laughter is heard, this time accompanied by the growling of a lion.
She descends the stairs and we see the muddy trousers of the prisoner approach the stair behind her. At the bottom, she sees a window and rushes to it. Peering out, she finds herself high above the road below - the window too narrow and high for escape. She’s dismayed to turn from it and find the hub has returned behind her, the staircase gone. Suddenly, she hears the music box again and goes through a door, discovering she’s entered the study through the windows. She rushes through into the hall and heads for the front door - when she opens it, she finds herself in the study again and the door slams shut behind her. Wither is spread-eagled on the desk, skewered on the bayonet of a rifle. She realises her every move is watched and tears a telescope from its stand, severing an electric cord. Then, she reasons out what’s happening; rooms that move on rollers, controlled by a central motor, but what triggers it? She finds an electronic plunger in the door jamb and holds it down - she watches other rooms go past outside and realises her room is moving. Emma releases the button halfway between rooms and enters the control room between, determined to find who’s behind it all.
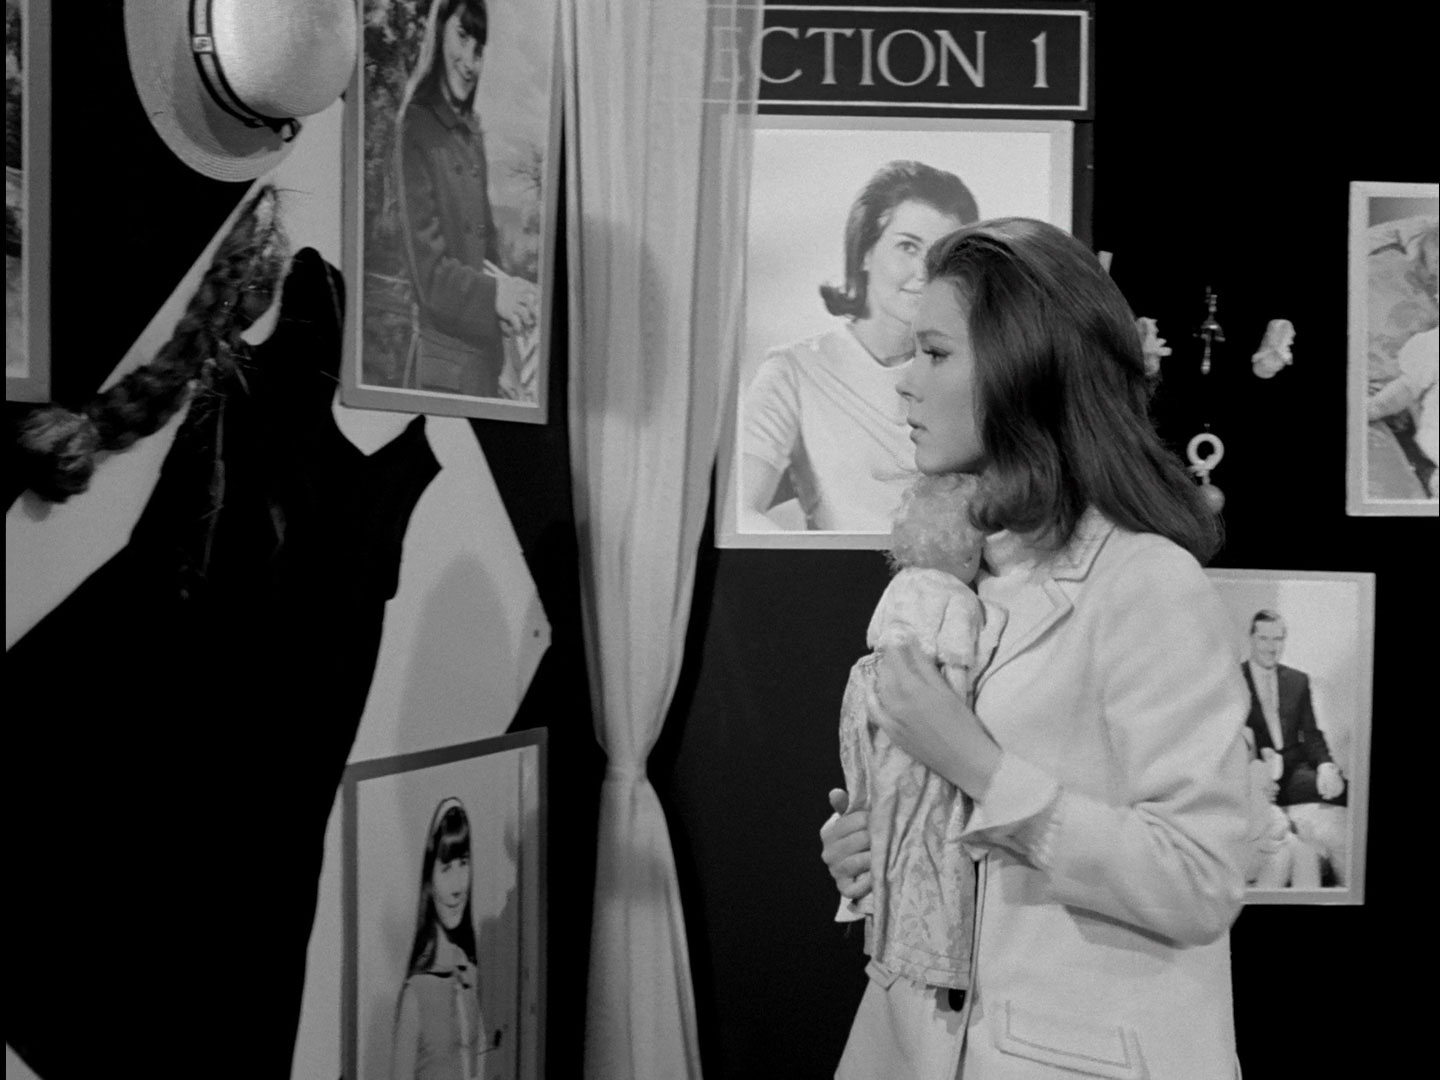
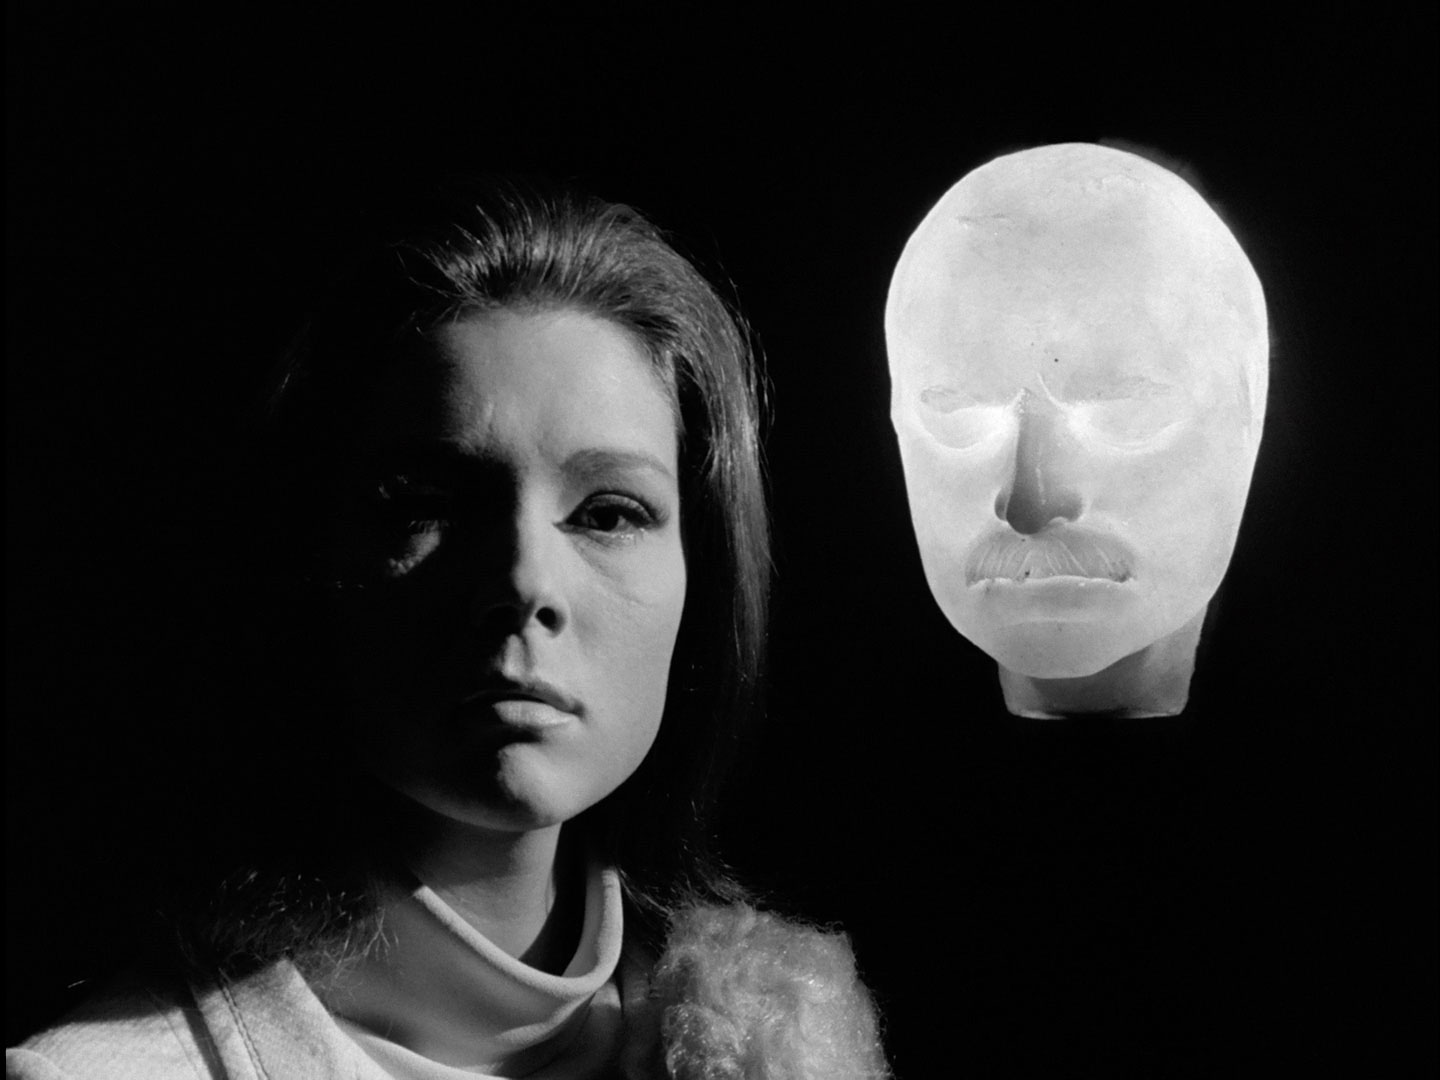
Steed meanwhile is searching Pendelsham for the house, waylaid by the altered road signs and a row of spike that slash his tyres when he gets too close. Back at the house, Emma finds a room bearing the placard “Welcome to an exhibition dedicated to the late Emma Peel”. She finds it’s a museum filled with her favourite childhood toys and photographs of herself. A glowing head bids her welcome and tells her she’ll find the reason for the exhibition in section four. There she finds newspaper cuttings regarding her taking control of Knight Industries on her father’s death and a recording of her dismissal of the automation expert, Professor Keller, from the board; she didn’t agree with his ideas of replacing man with machine. Professor Keller (Michael Goodliffe) appears on a television screen and say this house will prove he was right, machines are not only equal to man but their superior. She follows the cable of the screen and discovers the prisoner, Burton, hiding in the shadows. She overpowers him when he tries to fight her then discovers he’s a mental wreck, driven mad by being trapped in the house for so long. He suddenly produces the shotgun he stole and levels it at her and she ducks when he shoots - the blast smashing a hole in a thin plaster wall concealing a door. Emma takes the gun from him and smashes her way through until she can reach in and open the door, discovering the central control room within.
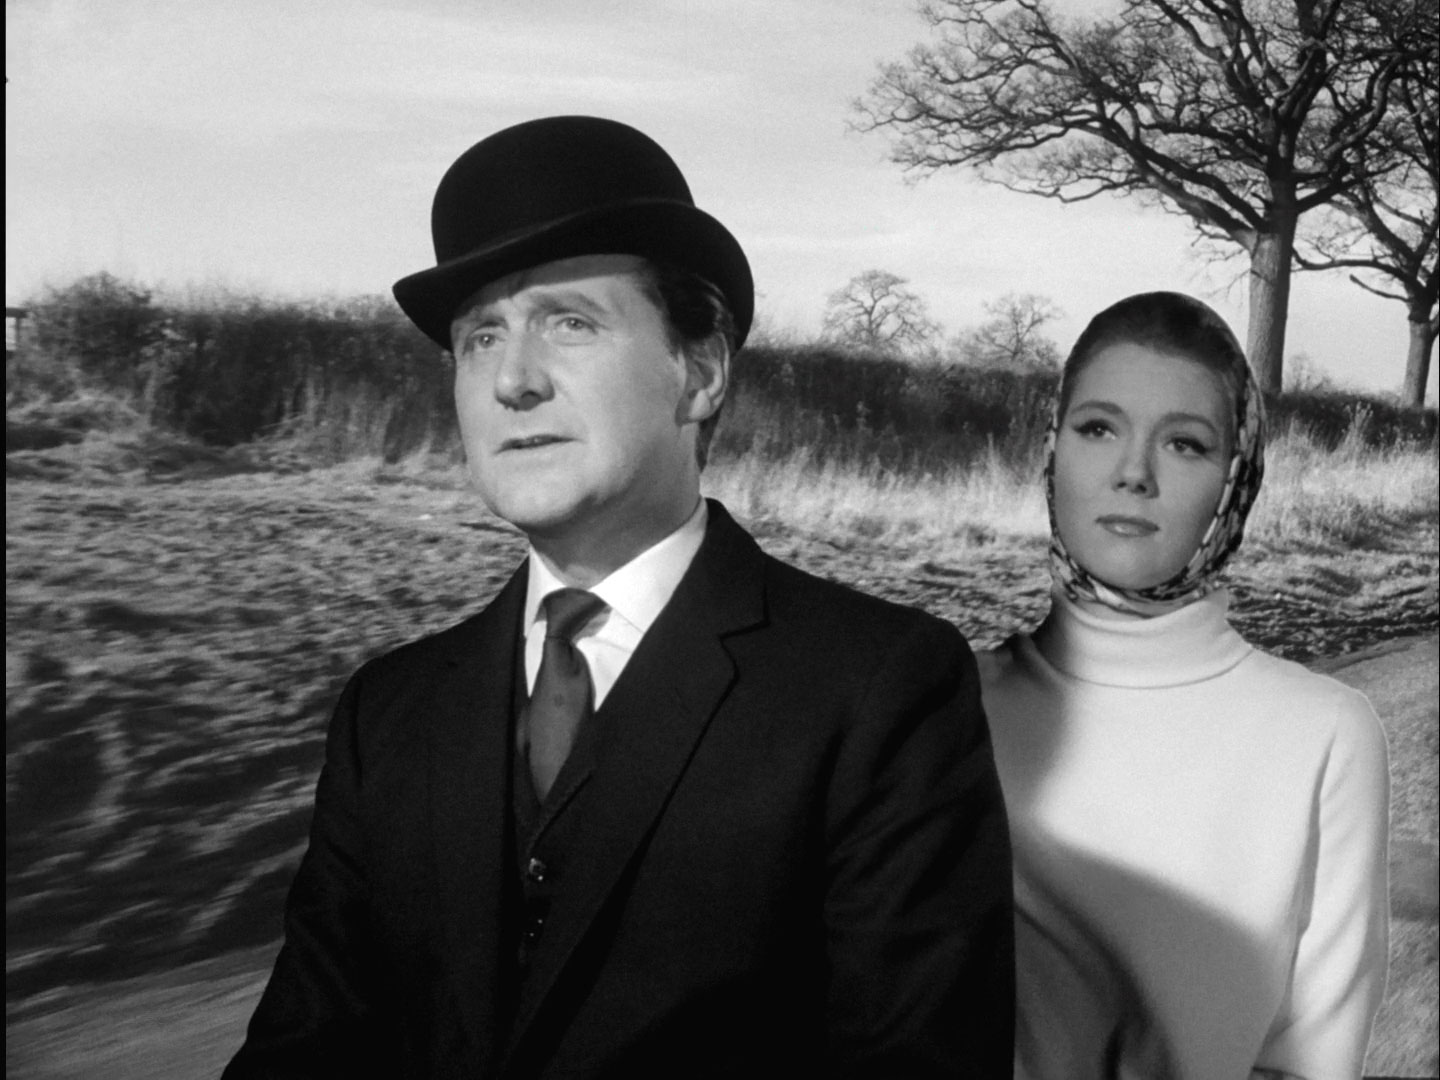
She enters and whirls round, shooting, when Keller welcomes her - he announces he is dead, his body preserved in a glass box in the middle of the room. This house is his legacy when the doctors gave him only a year to live - it will become her tomb. Powered by solar energy and running on frictionless bearings, it will last 1,000 years. Steed meanwhile has reached the house and seeks an ingress, to no avail. Meanwhile, Emma learns the machine will realise she has been driven mad when she commits suicide, using the suicide room in the corner, which will gas her painlessly. She announces she can reason it out and the machine reacts - a film of an attacking lion, electric shocks and loud noises, at which Burton burbles and claps stupidly. Then she hears Steed honking her car’s horn. Emma realises the slot for the computer’s punch cards in the weak point, and contrives a bomb out of the key and Burton’s last shotgun shell. Burton snatches it from her and dances about the room and is killed when he stumbles into the death cabinet. The computer detects the wrong person has been gassed, the door opens, and Emma sadly takes the key from Burton’s hand. Steed manages to enter the hallway as Emma rams the bomb home - it slides down and ignites the electrics; the computer malfunctions and starts smoking, Keller’s cabinet splinters and cracks and the rooms spins madly around on their bearings. Finally all is still and the Avengers are reunited; Steed offers her a lift home on the old horse.
Steed tells Emma that Withers was his man Pongo, he didn’t reveal himself as Steed had asked him to soft pedal a bit as he didn’t want to frighten her. Emma rings her bells and the Avengers leave on a tandem bicycle.
Production
| Production dates: | 9–18/01/1966 | Drinks | |
|---|---|---|---|
| Transmission dates: | Foreign title |
coffee brandy |
|
| UK | 5/03/1966 | ||
| Sydney | 2/08/1966 | ||
| Melbourne | 22/07/1966 | ||
| USA | 16/05/1966 | ||
| Germany | 31/12/98 | (Das Häuschen im Grünen) | |
| France | 6/07/91 | (L’héritage diabolique) | |
| Italy | 17/11/80 | (Benvenuti a casa del povero Jack) | |
| Spain | --- | (La casa que jack construyó) | |
| The Netherlands | 20/08/1968 | (Het huis van oom Jack) | |